

Our family gets so much joy from our holiday advent that I decided to make a Halloween countdown for October. This project is primarily made with glue, so it’s quick to assemble with no sewing required.
Related: Check out our entire Halloween archive of spooky decorations, recipes and more! You’ve Been Booed (with Free Printable), Halloween Cake Pops, Caramel Apples.
 Aunt Emma (as she is known in my house) came up with the idea to make our girls a Halloween countdown calendar. I immediately said “YES, YOU’RE BRILLIANT.”
So why not start this fun (and very spooky!) tradition to enjoy a little bit of Halloween magic all month long in October? I pretty much set out to make a Halloween version of our Christmas advent calendar since we love that one so much.
We created this Halloween activity printable. My suggestion is to use a mix of activities and then in some of the days, just put in a candy. And, use a calendar to strategically place the movies on the weekends (or whatever adjustments are best for your family’s routine).
Feel free to add your own activities and traditions. The printable we made is mainly just stuff my little kids would enjoy and nostalgia from my childhood. Other things you can include are stickers or coloring pages. Customize it to fit your kiddos!
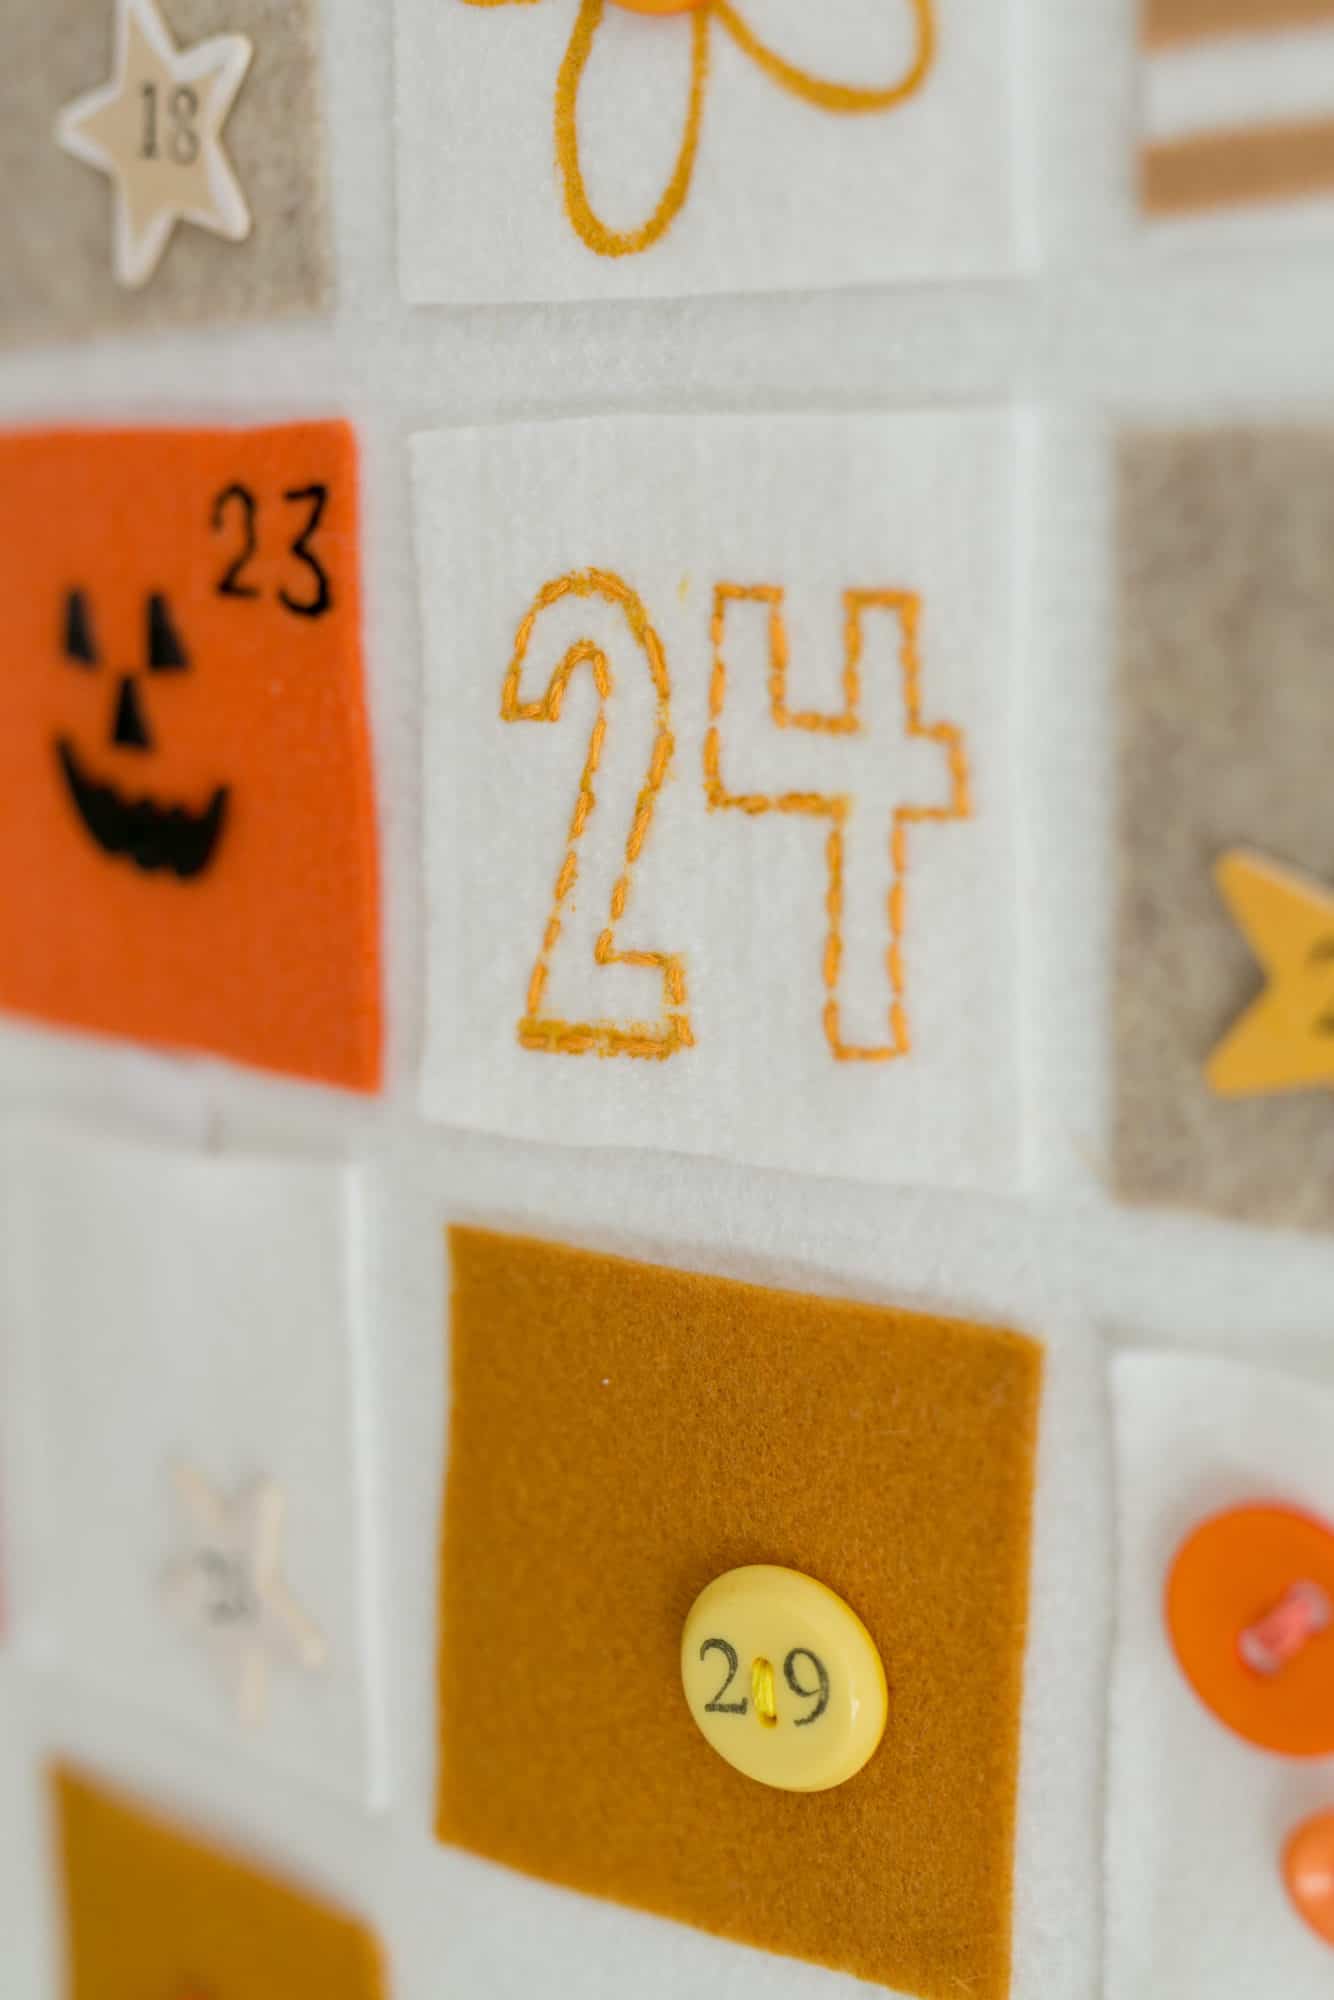
As far as the DIY goes, this is a pretty simple project. I completed it over a two-day period. I probably spent about 4-5 hours on it. It would take half the time if you just eliminated the embroidery stitching, but I really enjoy doing that and like the look of it.
Supplies:
-dowel rod
-large piece of felt for banner (I got a half yard at the craft store).
–colored felt for pockets
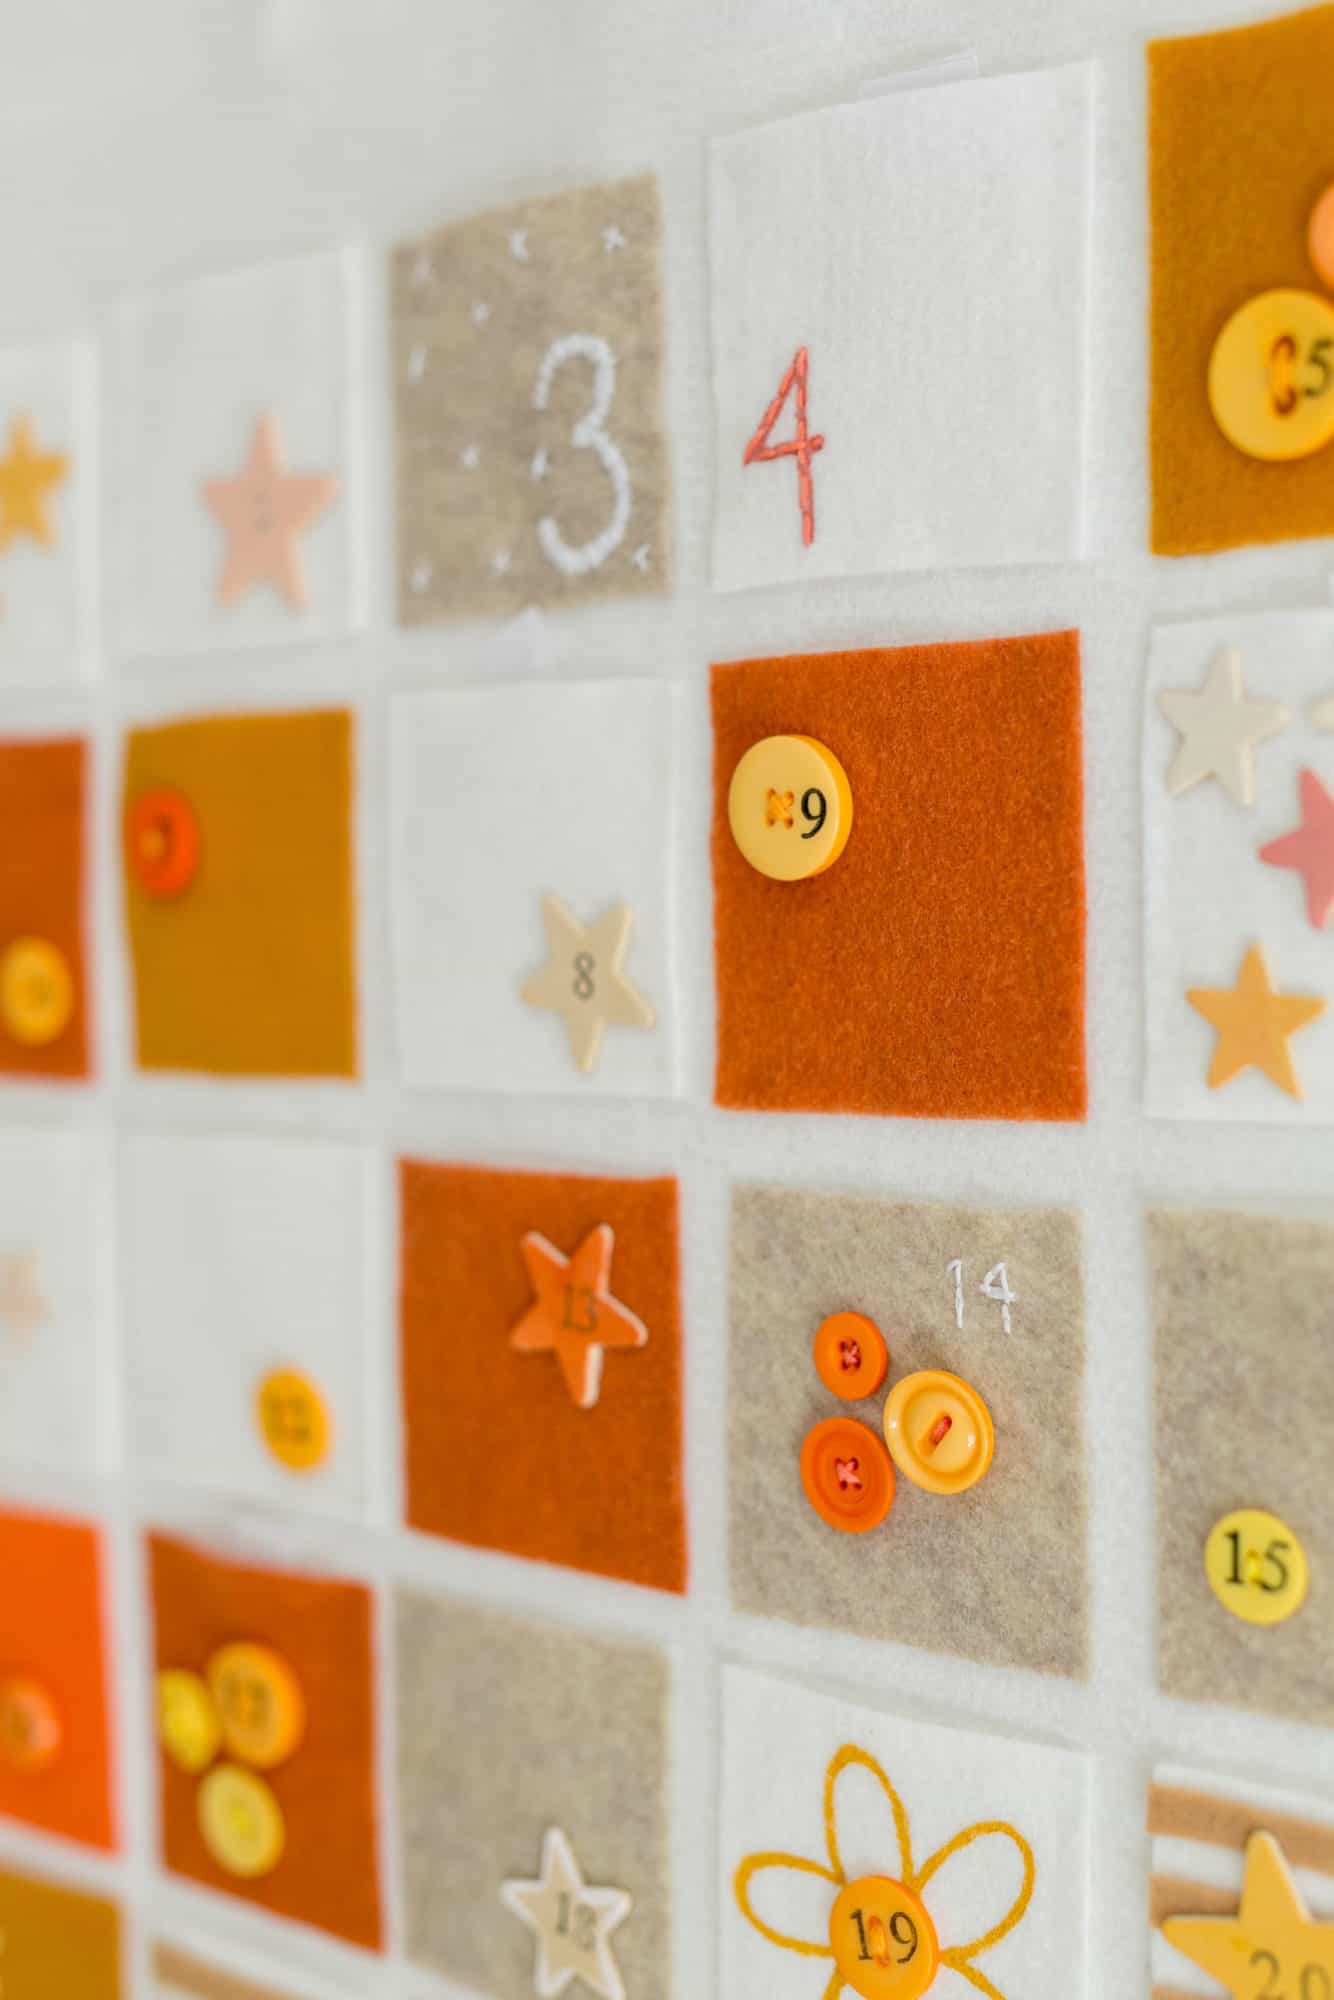
-embellishments for pockets (I used a lot of buttons, some embroidery, stamps with permanent ink, a bit of paint, and some wooden stars).
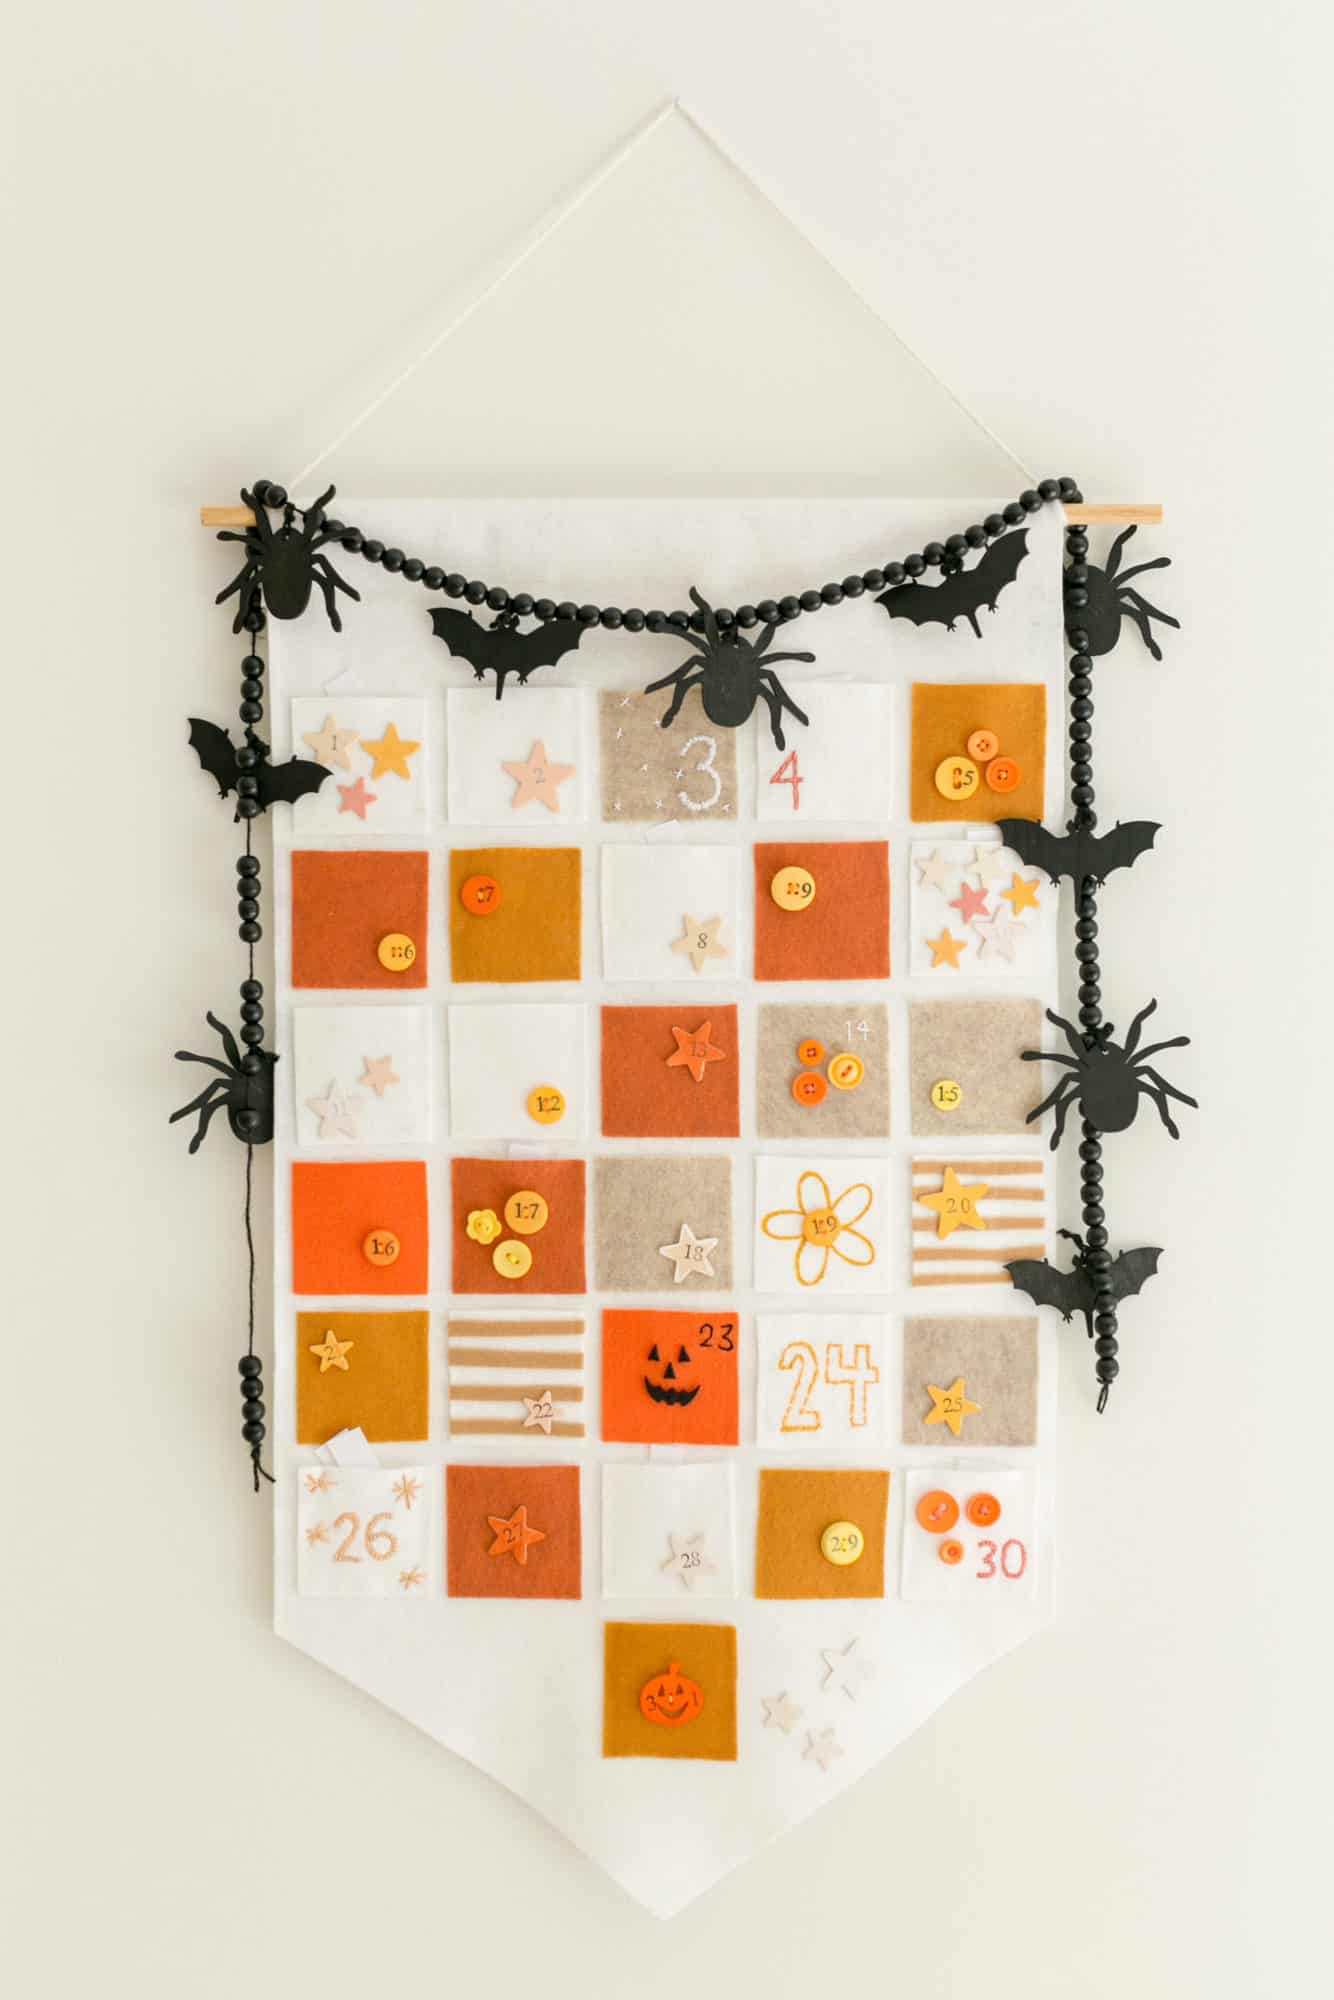
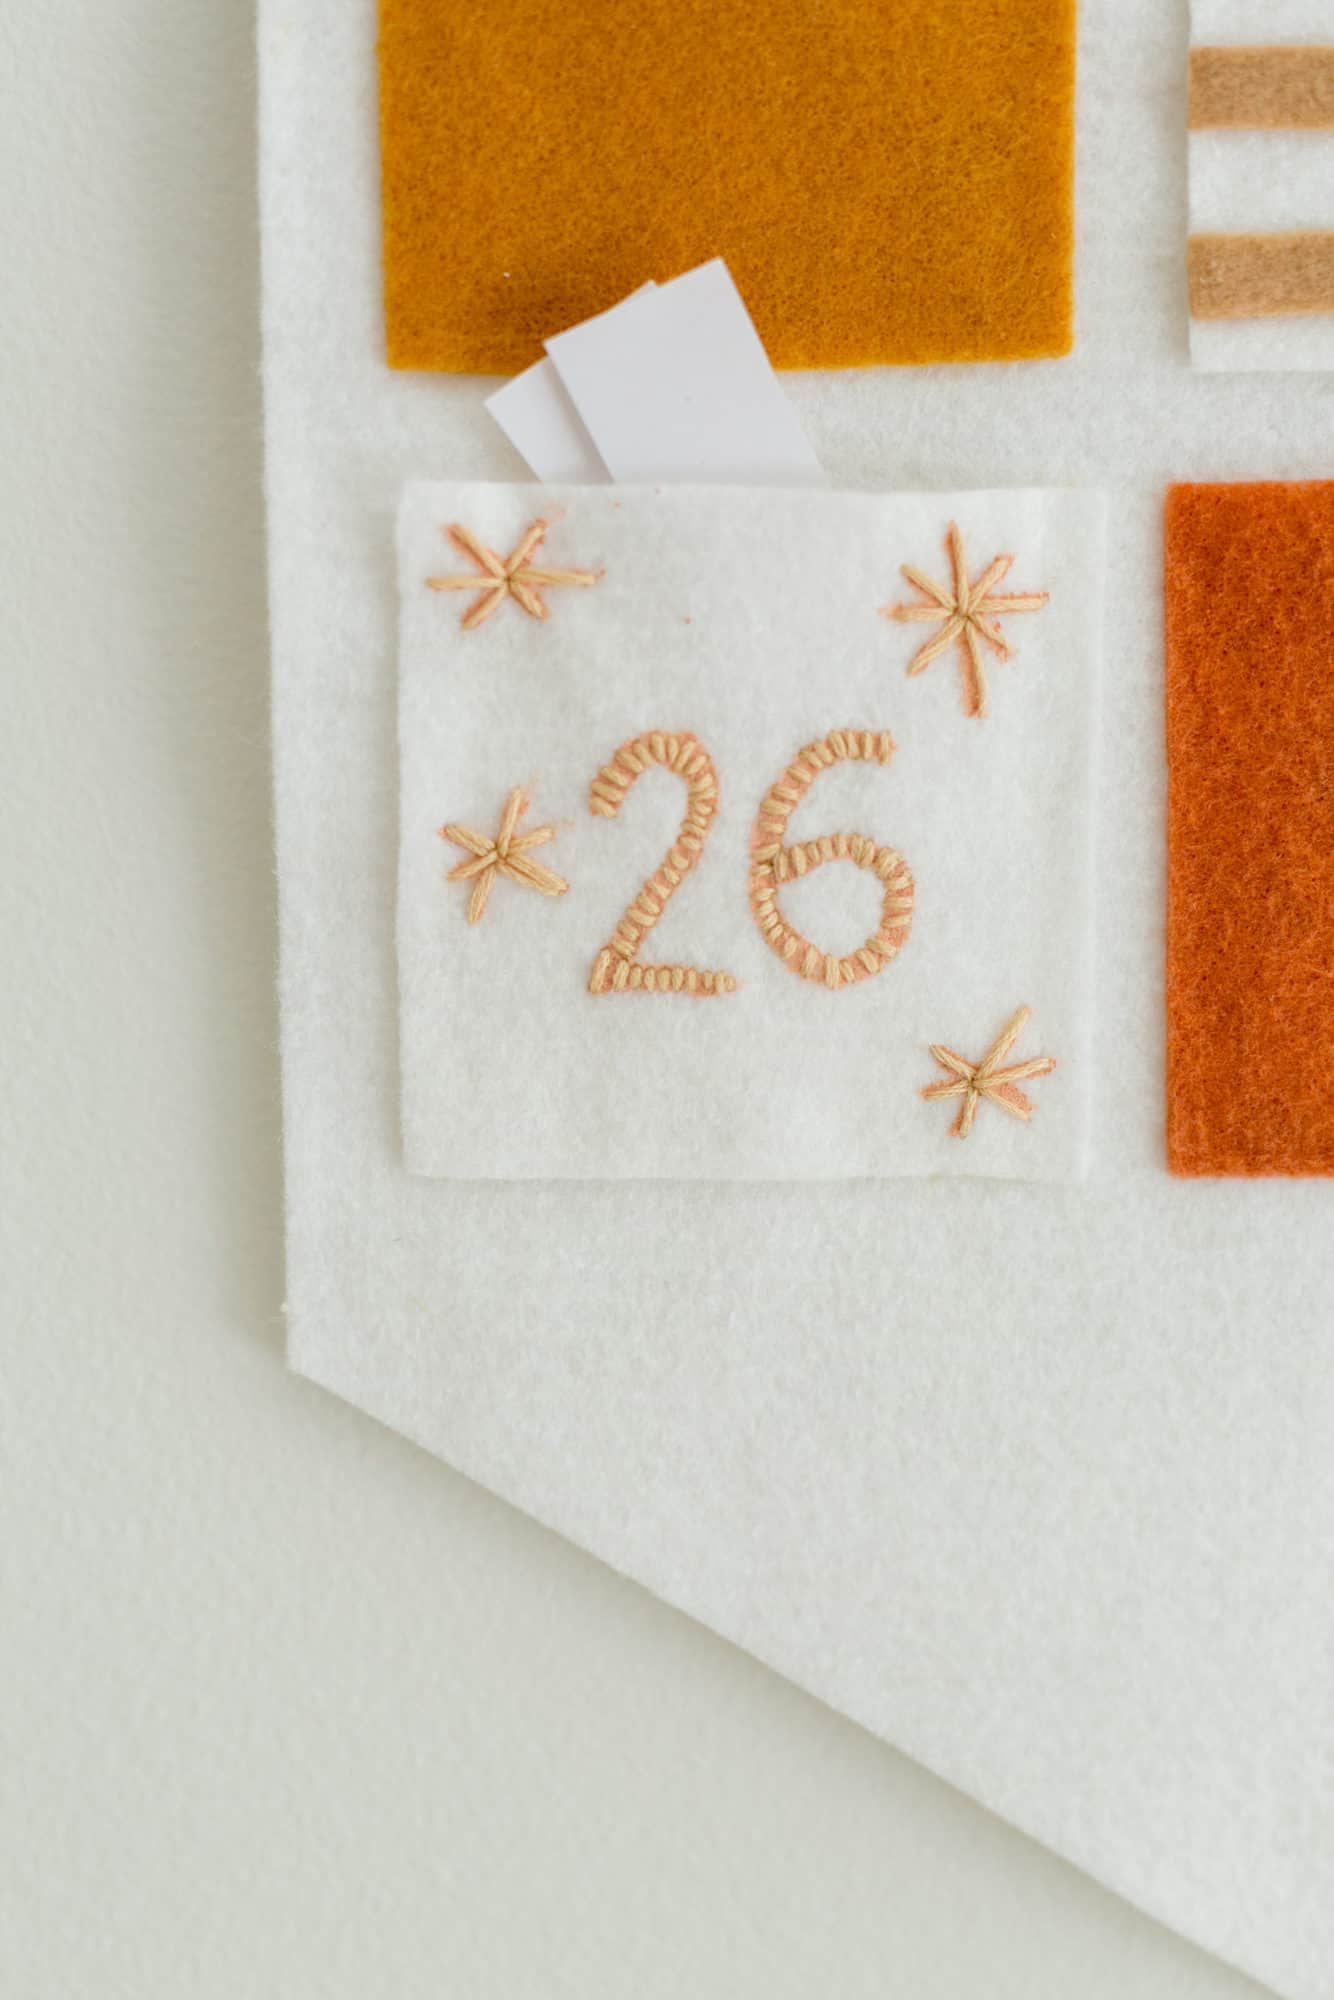
My complete banner is 18 inches wide and 32 inches long. Each pocket is 3×3 inches.
 The first step is to cut out your banner and the 31 pockets. I embellished all the pockets before gluing them down. You can also sew them if you like.
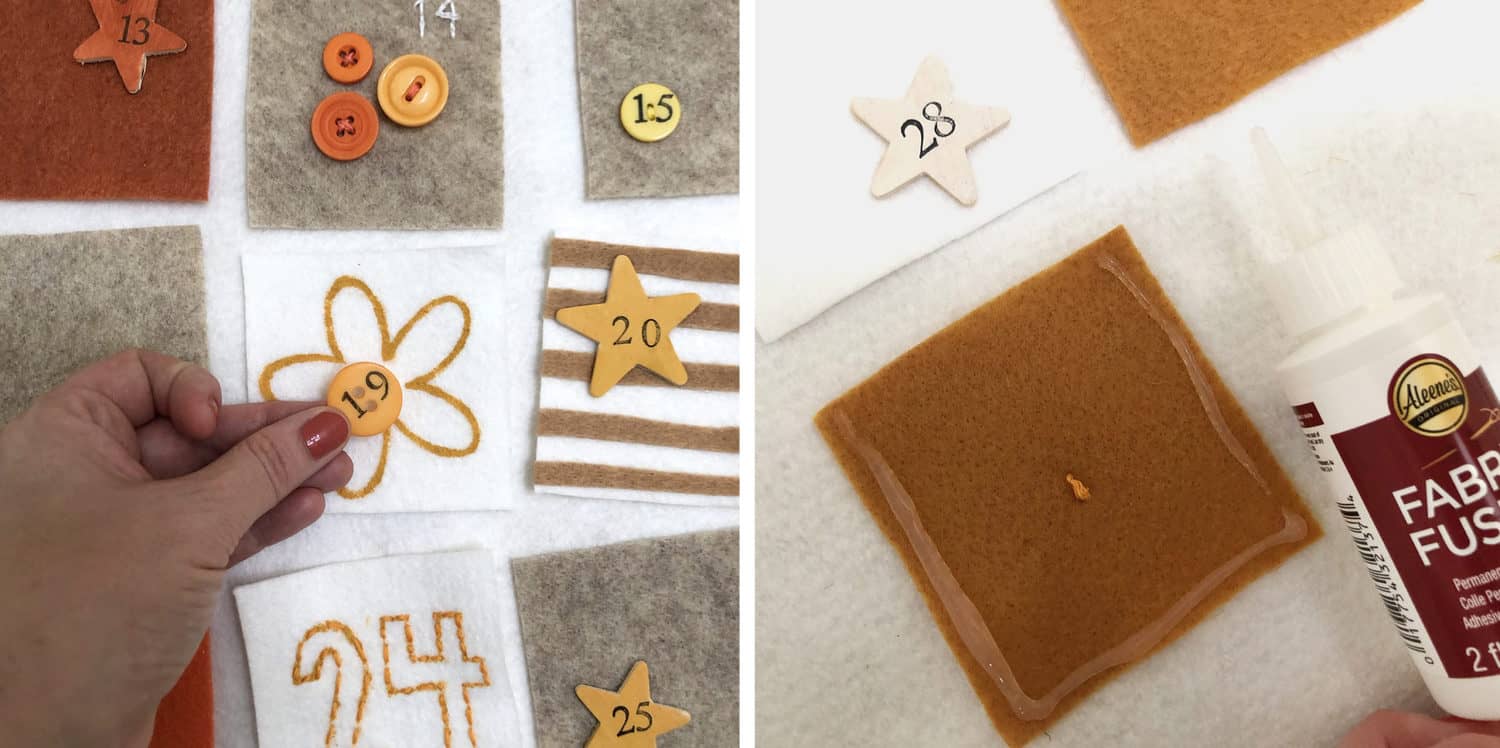
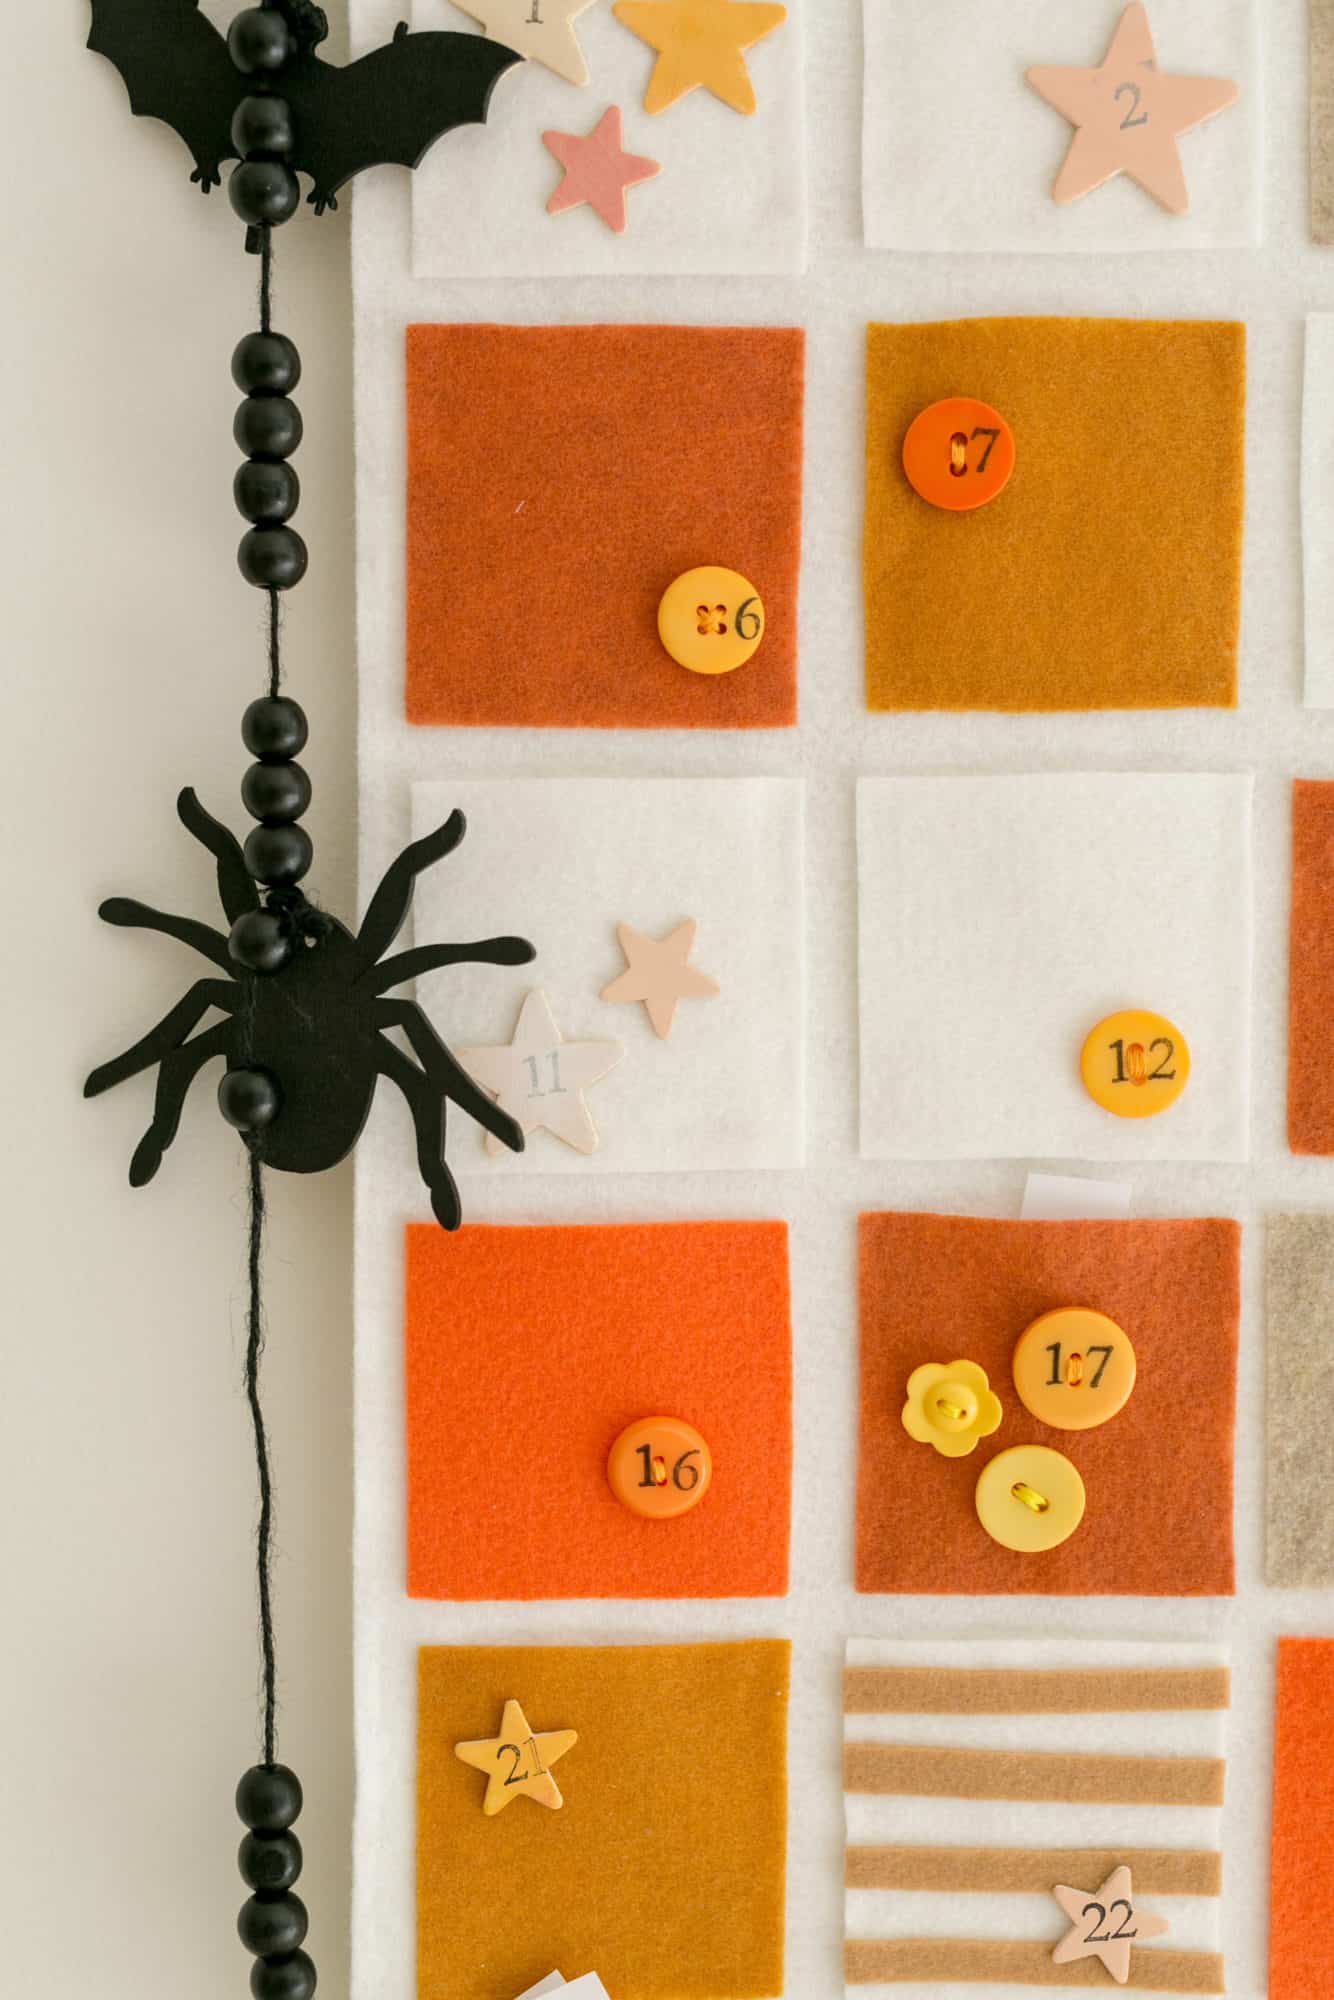
I like to lay them all out and embellish until it feels done. I did a lot of stamped buttons and stars. The buttons are sewn on and the wood stars are glued on.
After all the embellishments were done and dry, I used glue on three sides of each piece of felt to create a pocket.
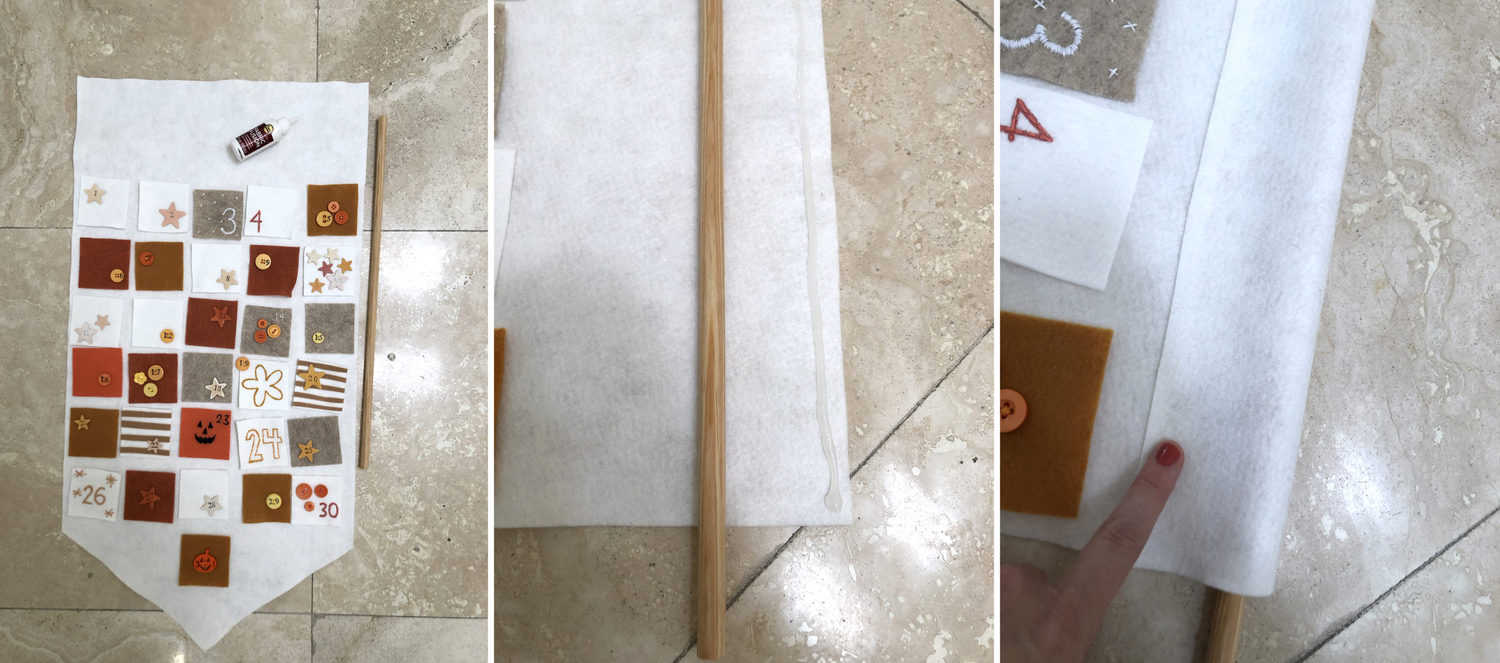 Next, use glue to create a loop that holds your dowel rod in. Then, tie a string to each side of the rod to hang it on the wall.
As you can see in my photos below, I also used halloween garland to make mine a little more spooky. This pumpkin button is so cute, too.
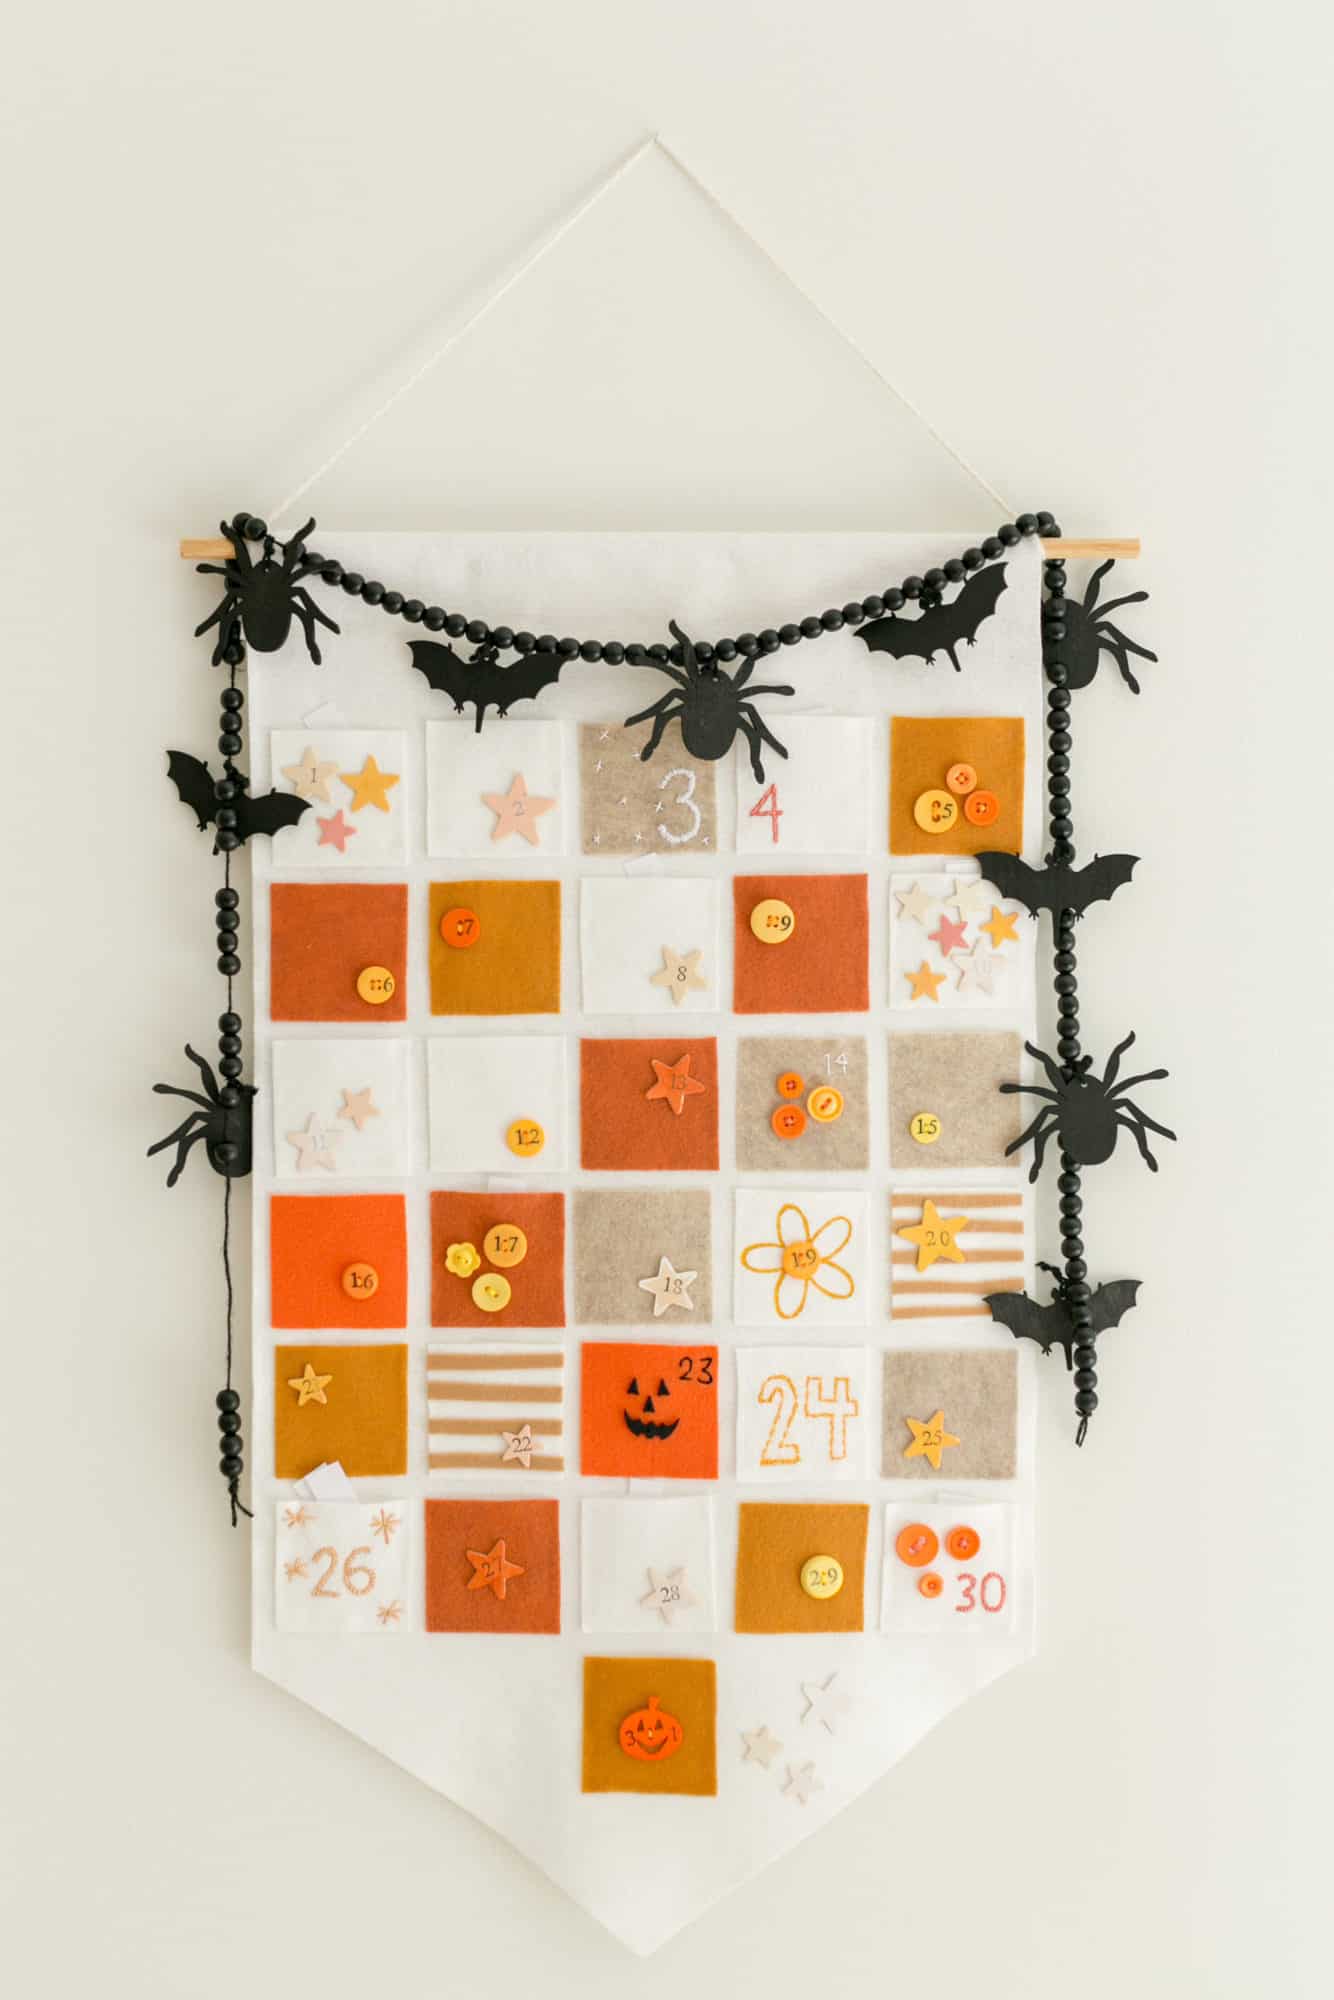
Here’s the completed calendar! I can’t wait for October to start using it with our girls, but I wanted to post it here early enough for you to have time to get all the supplies and make yours before October begins!
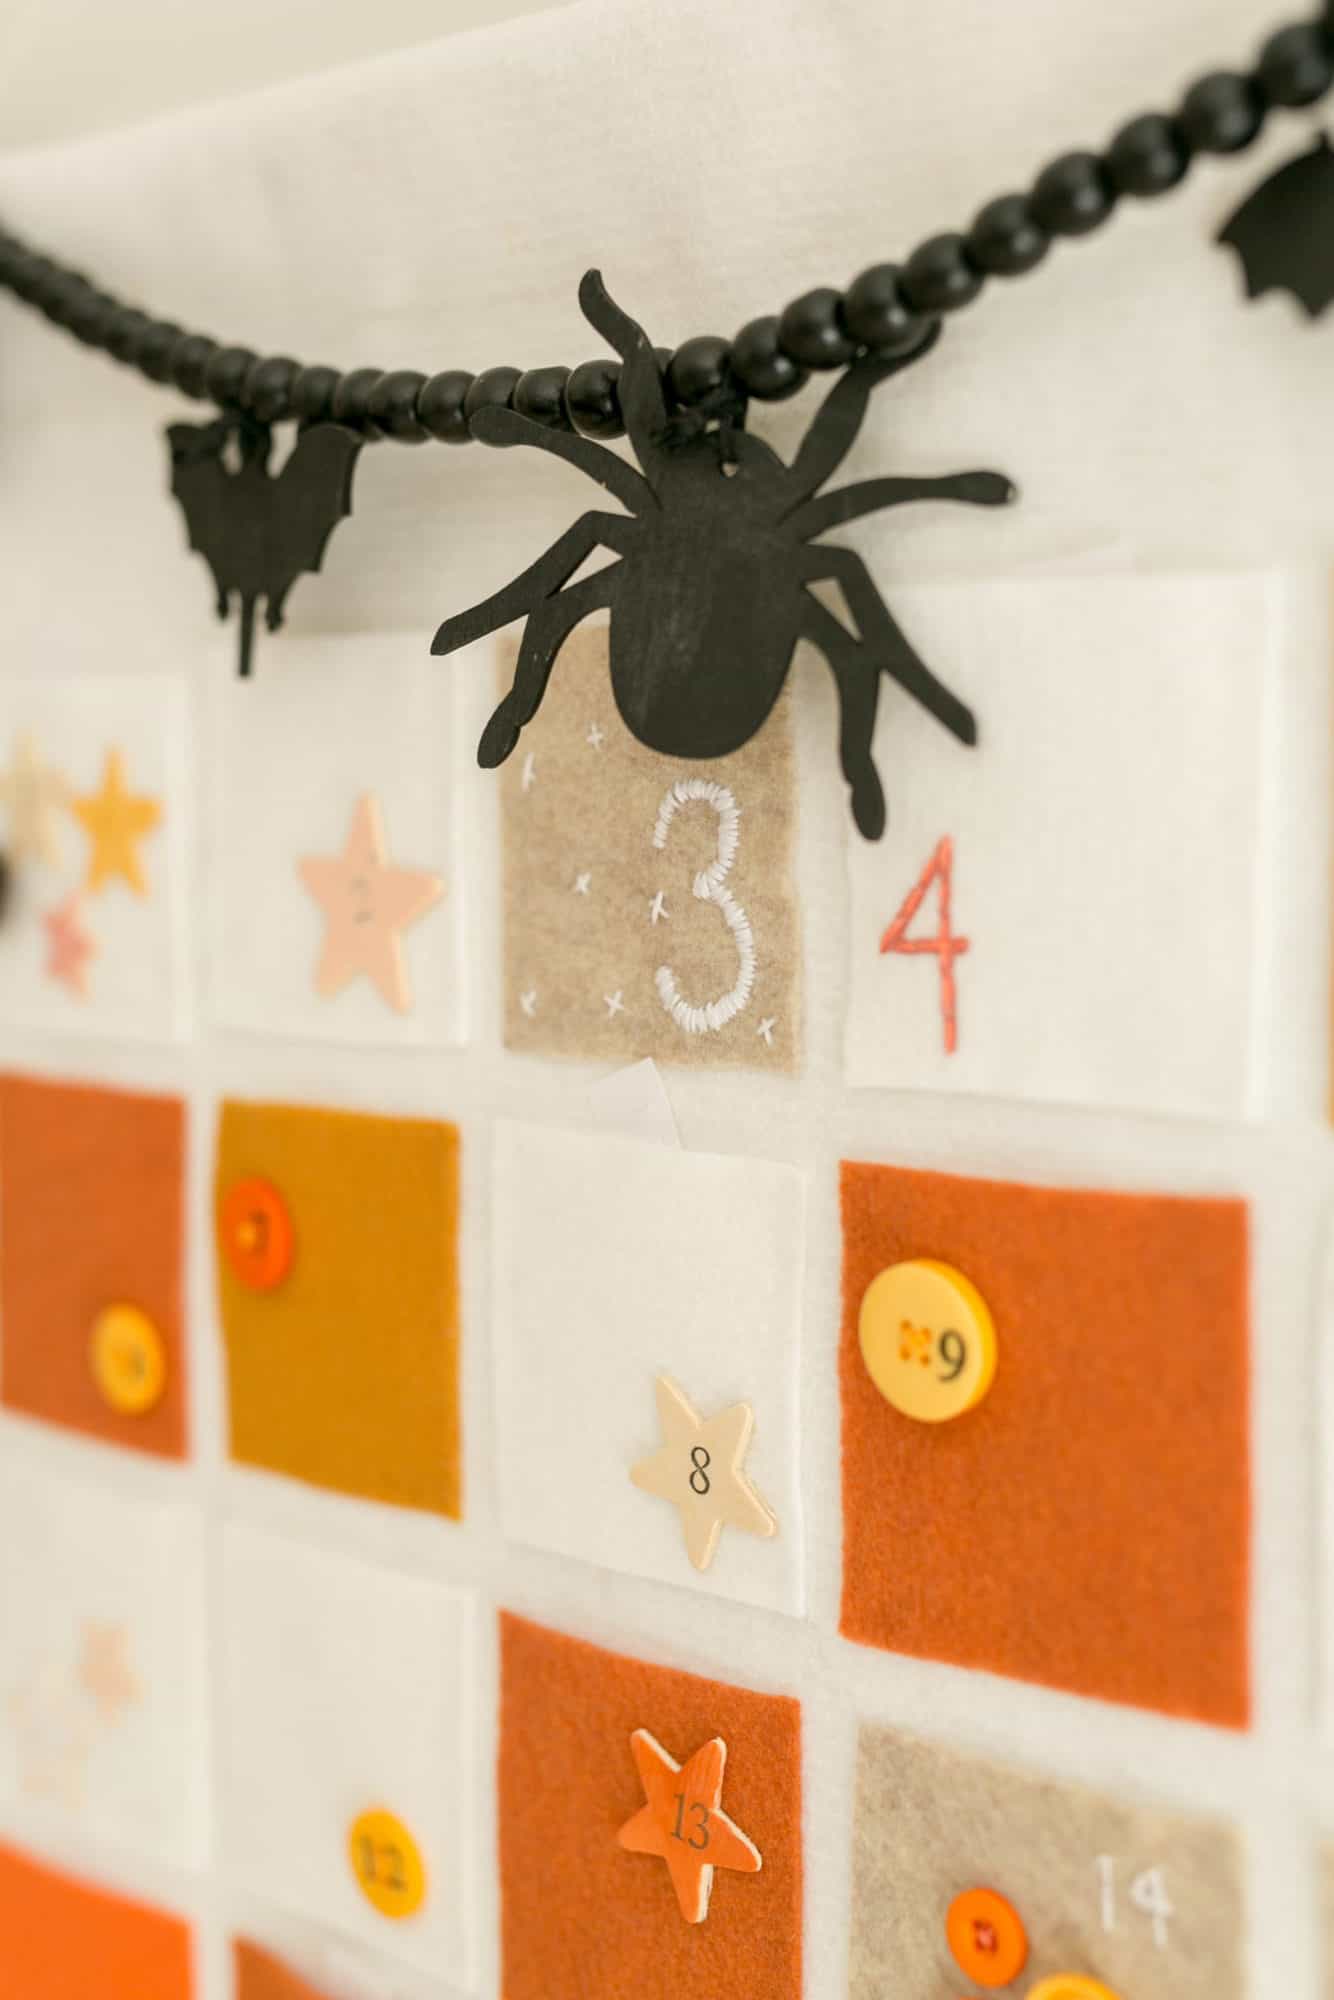

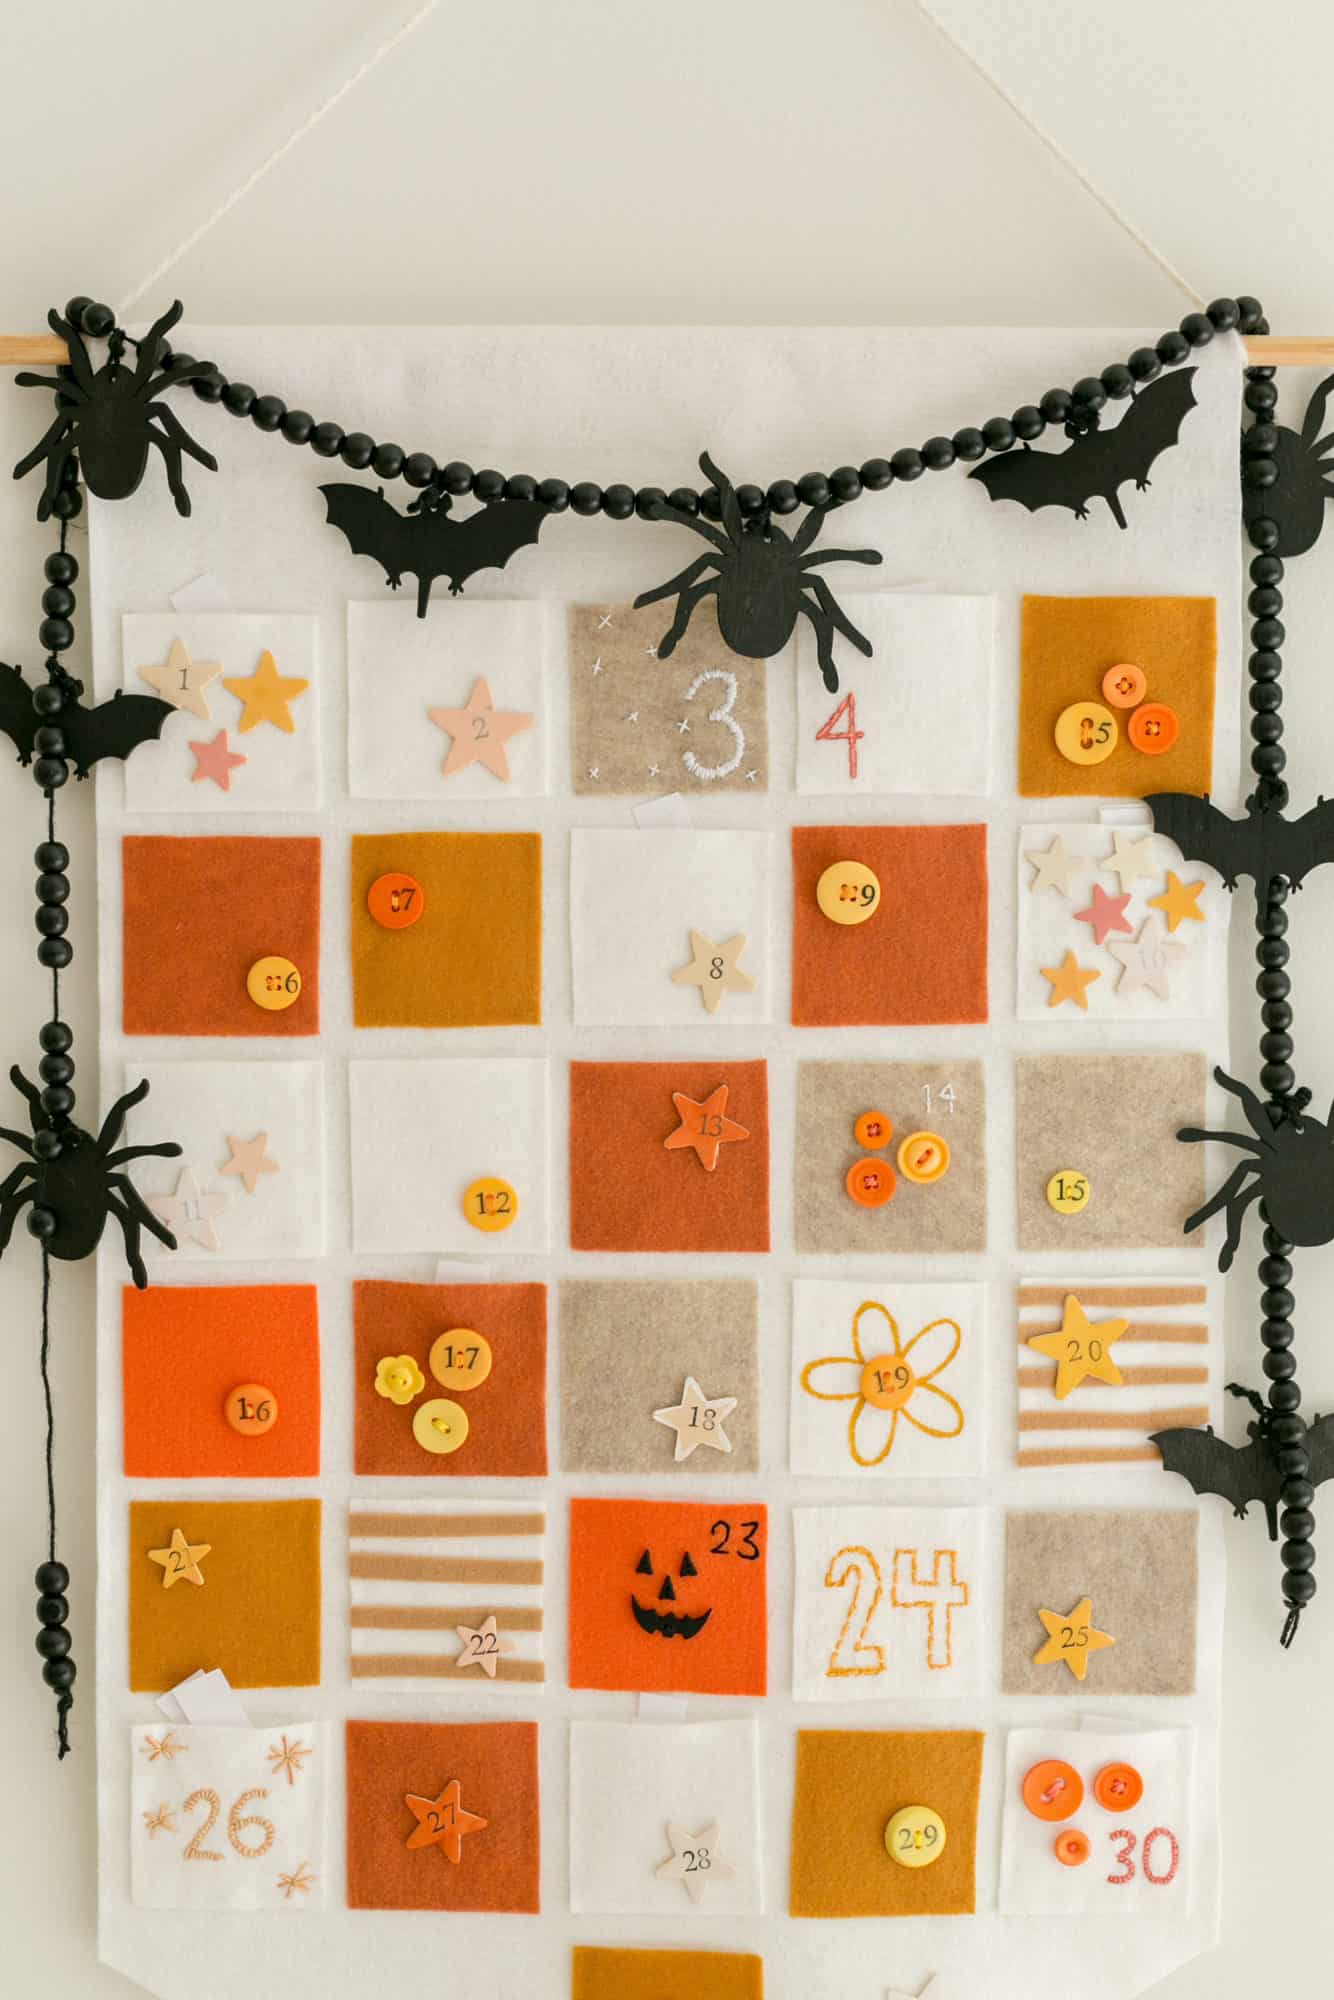
 It looks so cute with a garland hanging around it too (here’s a DIY for a cute wooden spider garland!). Wishing you a magical spooky season. Soak it in! xx. Elsie
More Halloween Ideas
Love this post? Sign up for our newsletter for more ideas!
Join Now

Get creative ideas for recipes, crafts, decor, and more in your inbox!
Print

Get the How-To
How to make a cute felt calendar to count down the days to Halloween!
Instructions
The first step is to cut out your banner and the 31 pockets. I embellished all the pockets before gluing them down (you can also sew them down, but I just moved and I don’t even know where my sewing machine is at the moment).
- I like to lay them all out and embellish until it feels done. I did a lot of stamped buttons and stars. The buttons are sewn on and the wood stars are glued on.After all the embellishments were done and dry, I used glue on three sides of each piece of felt to create a pocket.
Next, use glue to create a loop that holds your dowel rod in. Then, tie a string to each side of the rod to hang it on the wall.


