

This post may contain Amazon or other affiliate links. If you purchase something through the link, I may receive a small commission to help to support this site at no extra charge to you.
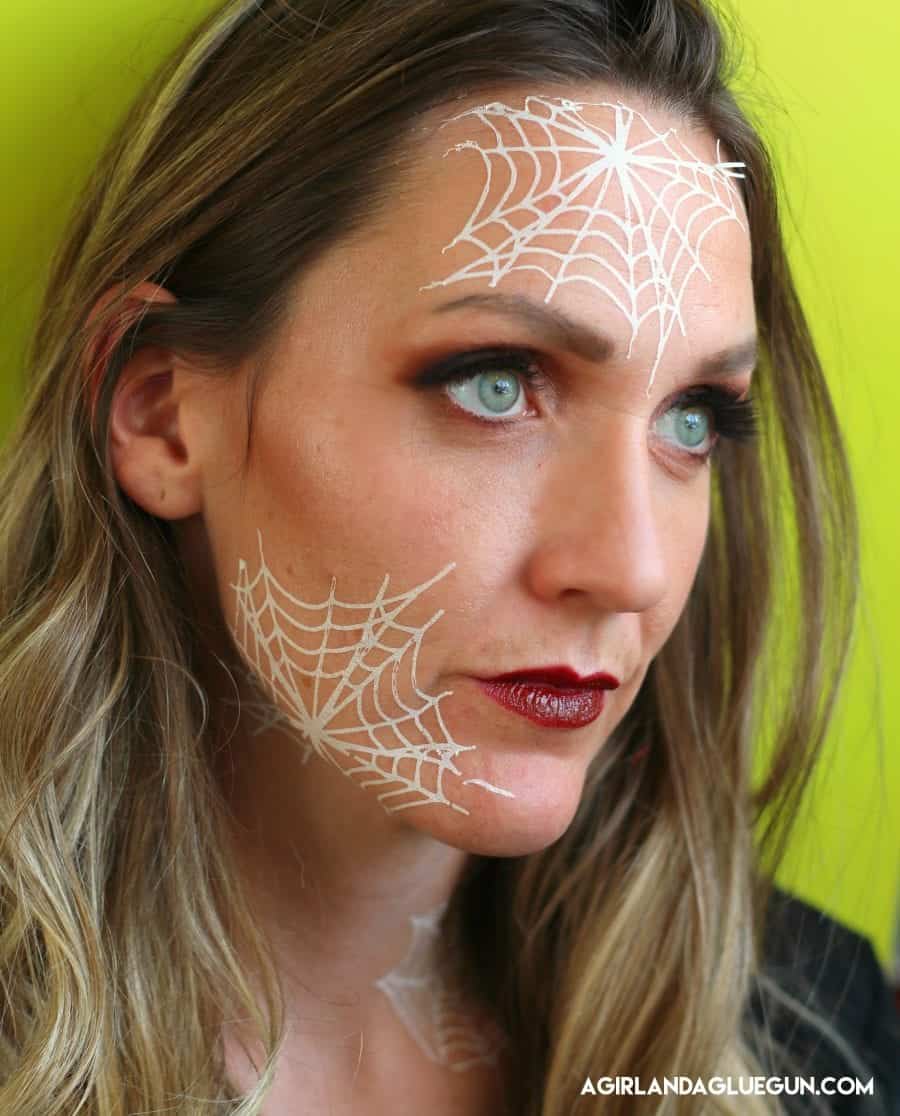
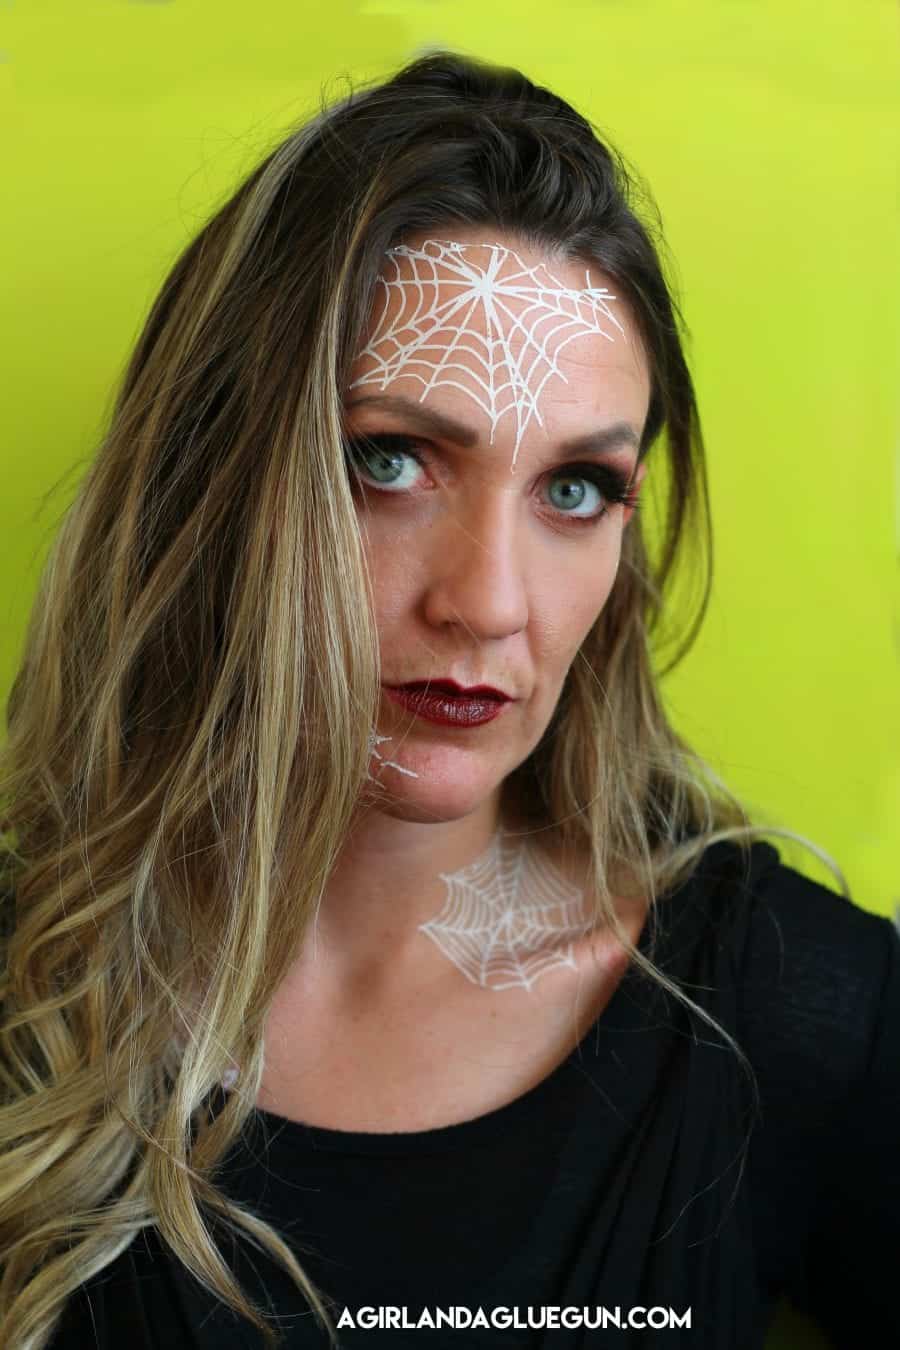
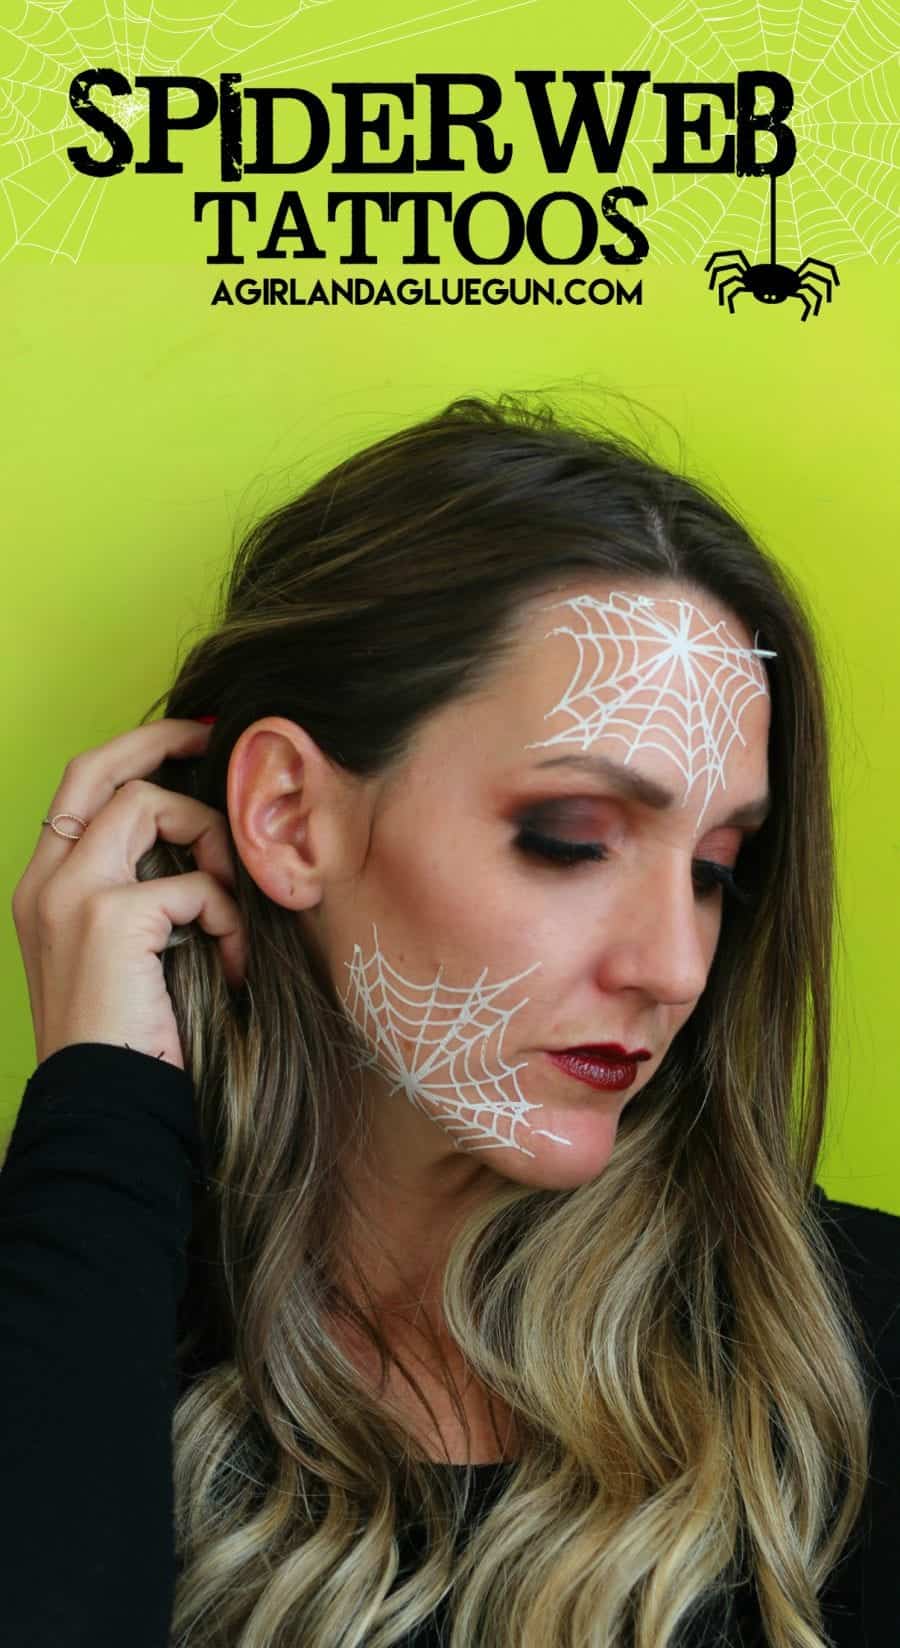
Learn how to make some super cool Spiderweb tattoos for an easy Halloween costume idea! Add some on your face for a perfect witch costume!
These cute tattoos make any Halloween costume just and added extra look! Easy to cut out, easy to apply, easy to wear all day, and easy to remove! Let me show you how!
I got invited to a Witches’ Tea–And I live by the motto go big or go home (usually I pick to go home) but this time I decided to go big!
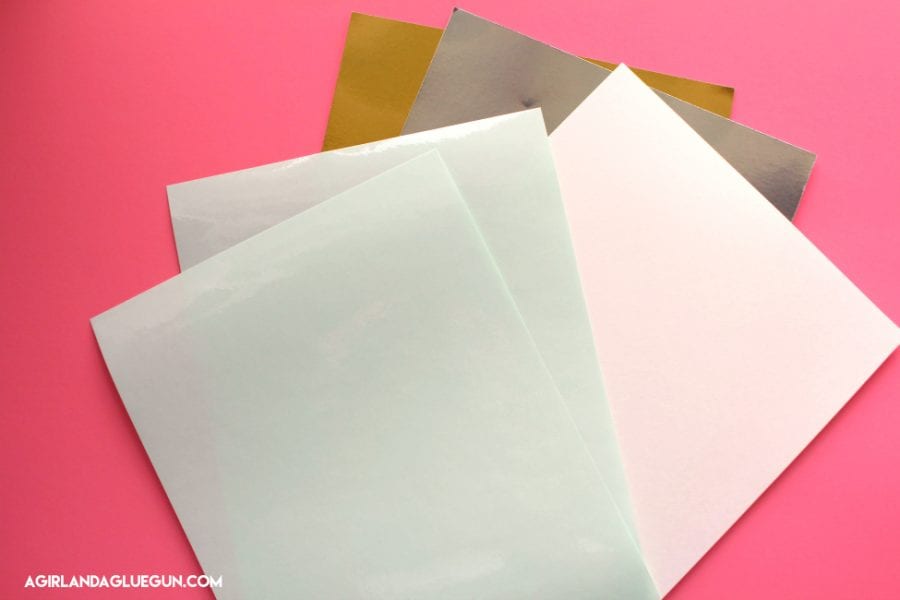
I had this cool tattoo paper from Silhouette. I have used this before on my son’s spider infestation costume.

But Silhouette has new colors–white, gold, and silver! So I grabbed the white and created these fun spiderweb tattoos! Great for a witches costume or just to wear around on Halloween with a fun shirt!
How to make Spiderweb Tattos
Supplies to make spiderweb tattoos
This tutorial is going to walk you through how to cut these out using my silhouette cameo. This same technique can be used on your cricut- I just don’t know the ins and outs as well! and YES! you can use silhouette materials on a Cricut! They have so many cool things!
How to use tattoo paper
The silhouette tattoo paper is a little bit tricky…so let me walk you through it!
This paper is designed to be printed on- and then use the print and cut feature on your silhouette cameo. Since we want white spiderwebs, then we don’t need to print anything! So normally, the first step is print. But we are skipping that!
When you open your package of tattoo paper, you should have two white sheets and two blue sheets. The blue sheets is the top layer. Take your white sheet (what you would print on if you are printing) and lay it down so the shiny side is up.
Peel off the top layer of the blue/green sheet (it’s sticky so don’t touch it) and put that at the very top of the white sheet.

Line it up as best you can and then press it down.
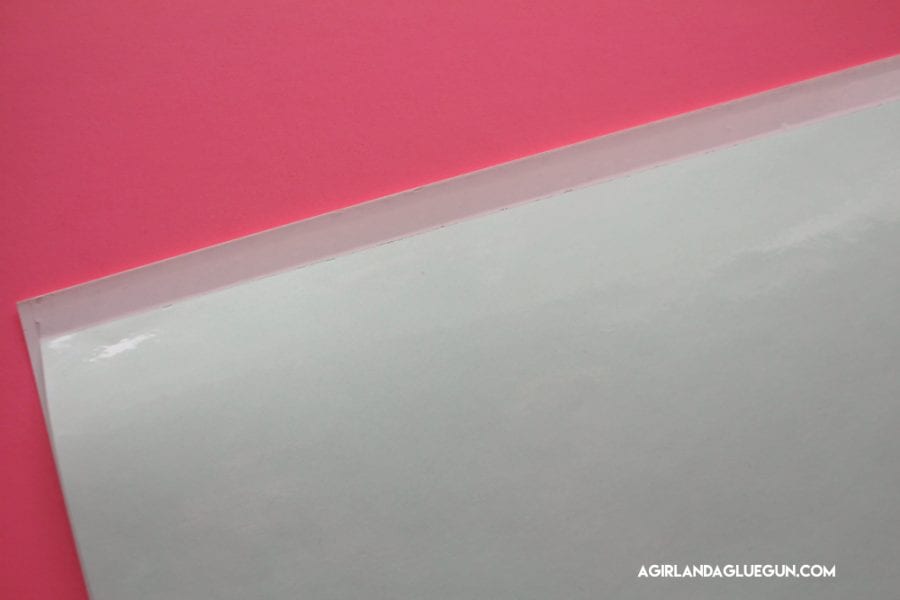
Slowly take the backing off and adhere it the whole sheet to the white tattoo paper. Rub it down pretty well. The top piece is the clear protective layer. Think about those fake tattoos you get. You have to peel the top clear layer off and and then flip the tattoo over and apply it to your skin.
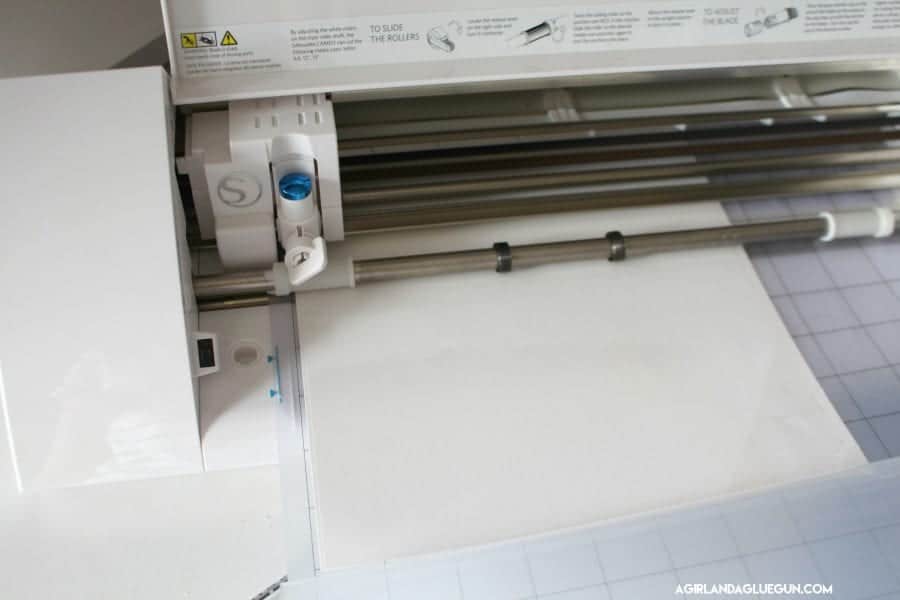
Load your tattoo paper into your cutter with a mat.
Cutting out tattoo paper
Upload the spiderweb into your software. Size the spiderwebs to how big you want them.
Spiderwebs have fine lines. if you want to make them a little bit thicker, you can press offset and make the lines bigger.

For temporary tattoos, you have to flip it over and apply it to your skin. Which means if your tattoo has words on it, you will need to flip it horizontally before printing and cutting. Since spiderwebs look good from all angles…I got to skip that step!
Once your settings are what you want, select tattoo paper in the material. It’s going to cut cut it all way through, so you need to use a cutting mat.
Apply your spiderweb tattoos
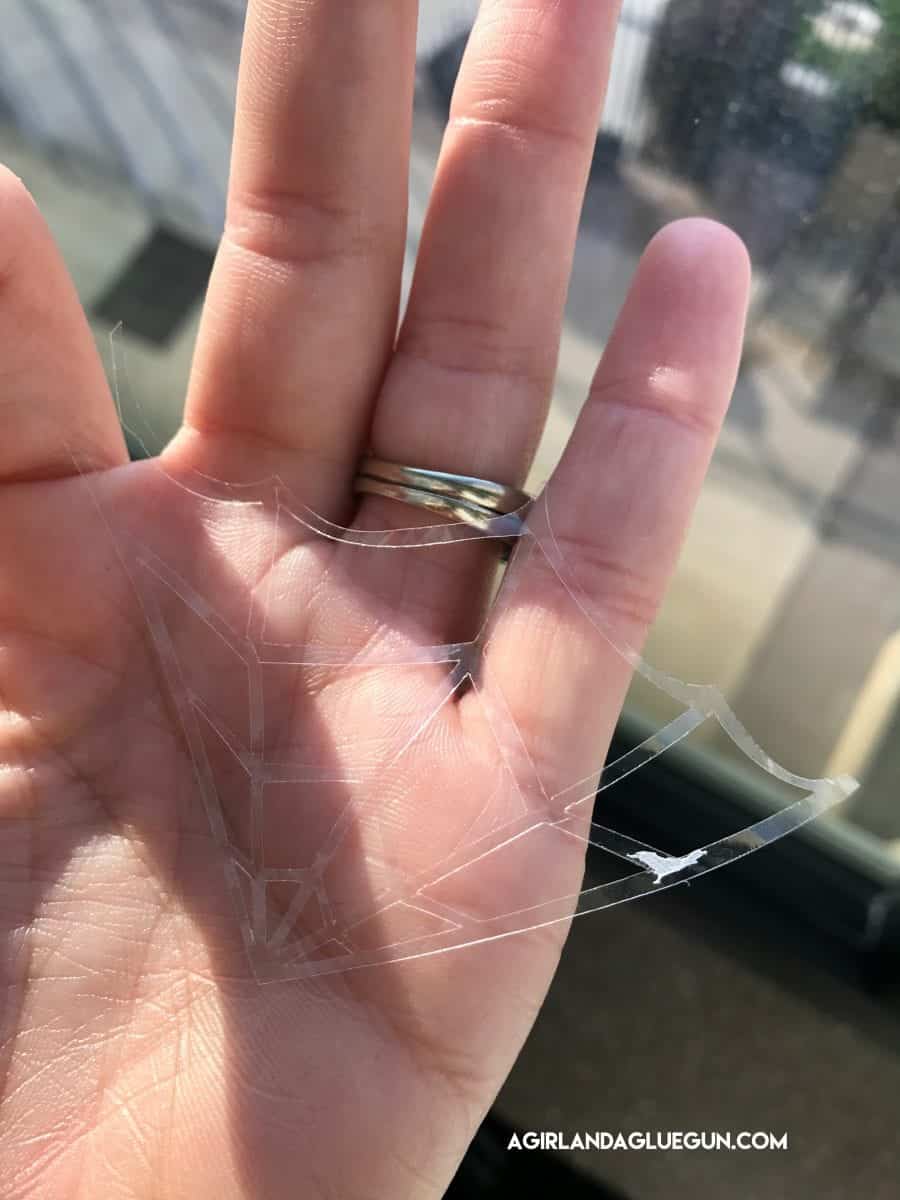
This is what your tattoo should like when you cut it out.

When you are ready to apply, you will peel off the protective layer. That tattoo is a little sticky.
Put the sticky part down on your skin where you want it. Press a damp cloth against your skin until the tattoo is saturated and then remove the backing.
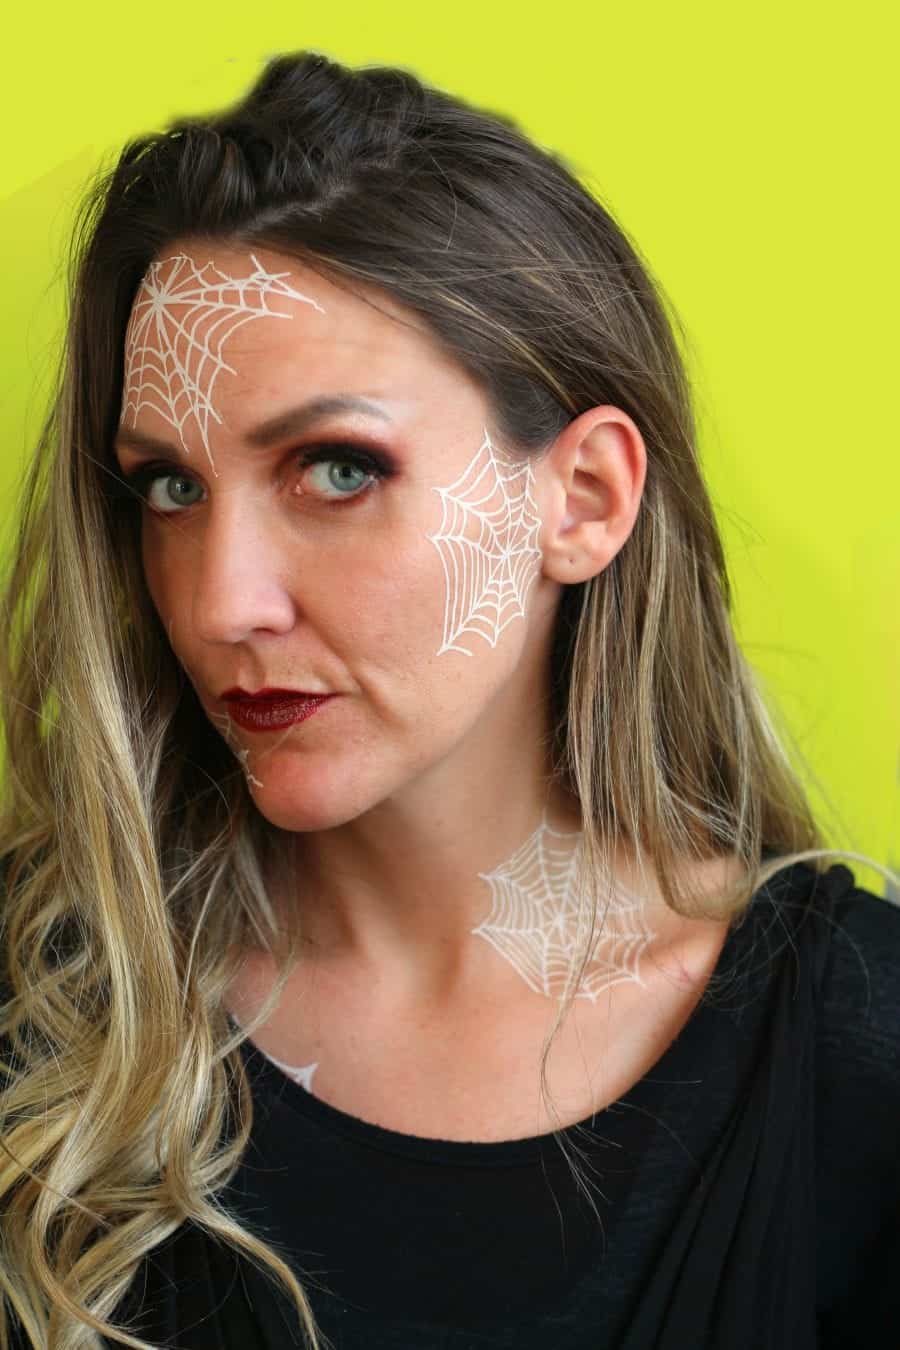
They actually adhered so well! I was nervous that it would smudge or would wrinkle on my face but they didn’t! The only part that was hard was around my hairline. All those little hairs prevented the tattoo from getting a really good adhesion…but I still think it looked okay.
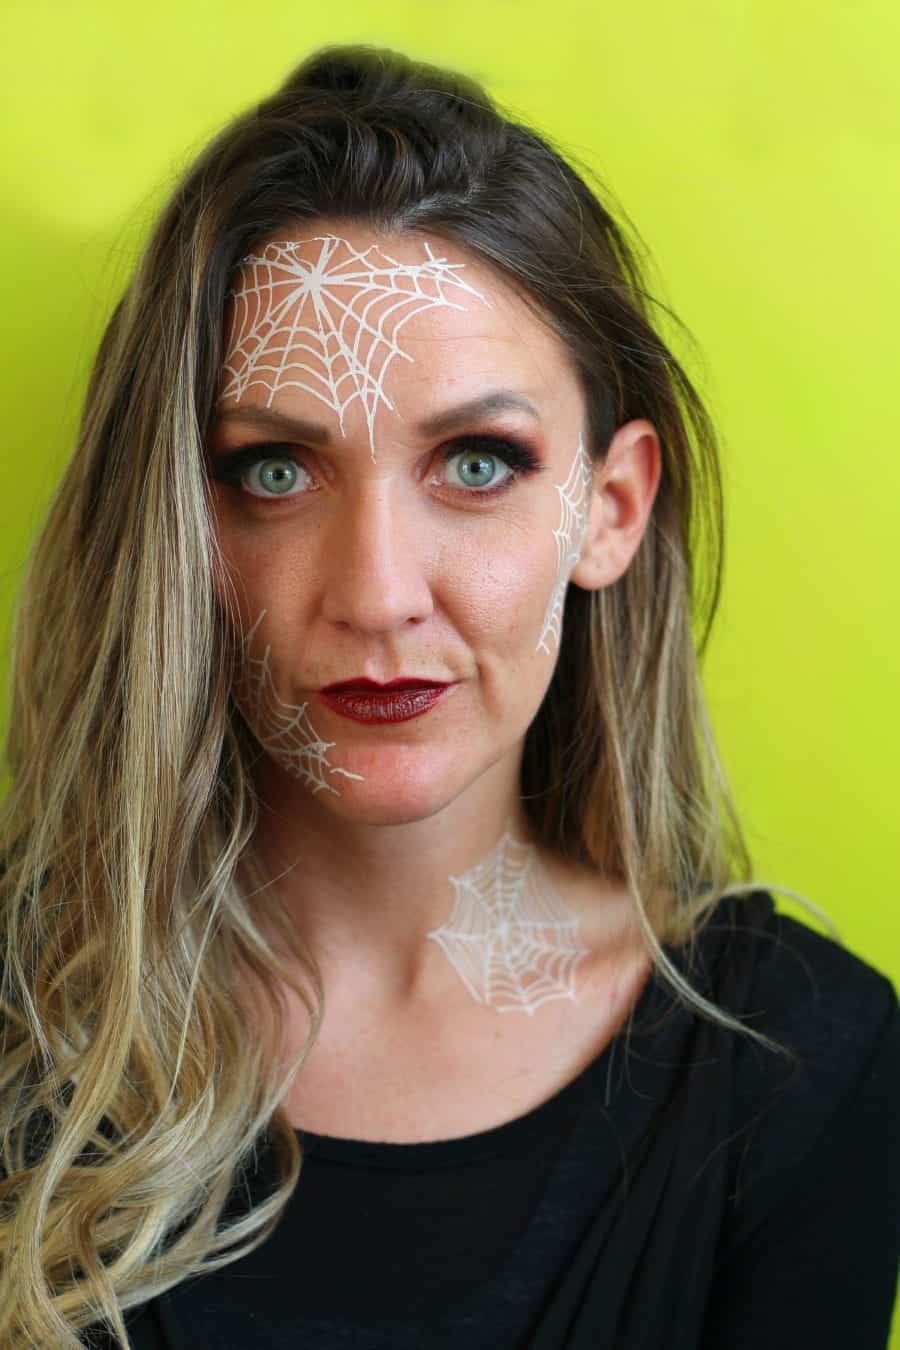
You can snip off sections of the spiderwebs to fit around your face. I recommend doing that before you peel off the clear layer!
I rocked these tattoos all day long–I forgot they were on my face and touched them and scratched them and they held up AMAZING! I seriously couldn’t believe it!
How to remove temporary tattoos
I got really nervous that maybe they would be hard to come off especially being on my face–but a little baby oil and they came right off! A serious win! I have heard hand santizer and nail polish remover works as well.
THE SPIDERWEB SVG CUT FILE
This files are zipped. You will need to click Extract All to open them all up. (see image below) If you are using an ipad- The free app iZip is great as well.
I have included the spiderwebs as well as the spiders that I used for this fun Halloween costume!
Just click on the image below and the download will start automatically!
SAVE FOR LATER
Too busy to get crafting today? No problem! Pin this post to remind yourself about this project later! Sharing my projects helps me reach more people, allowing me to continue sharing free content!
OTHER totally cute Halloween projects


