

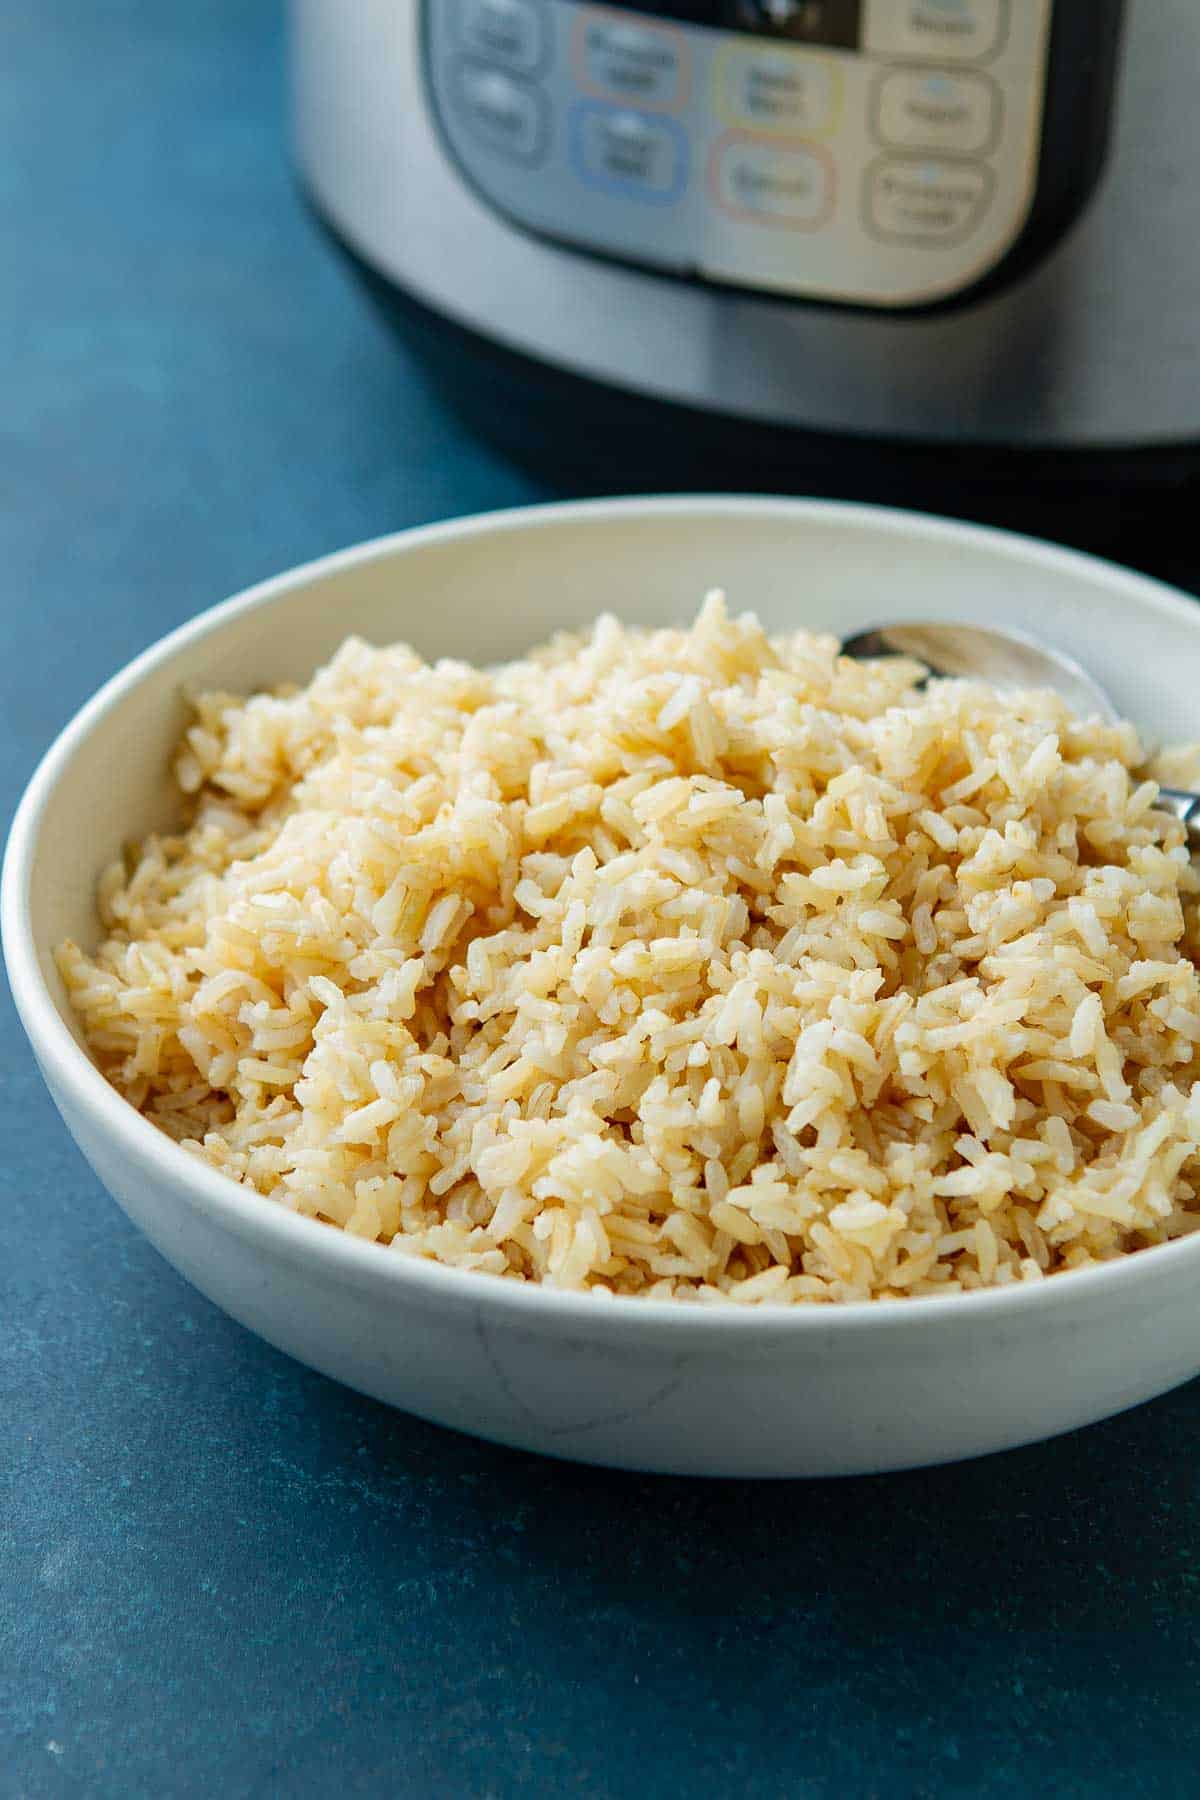
Knowing how to cook jasmine brown rice is a handy skill for putting together healthy meals. Instructions for cooking the rice on the stovetop and in an Instant Pot are included in this post. Serve it with stir-fries, curries or as rice pilaf, or incorporate it into rice salads.
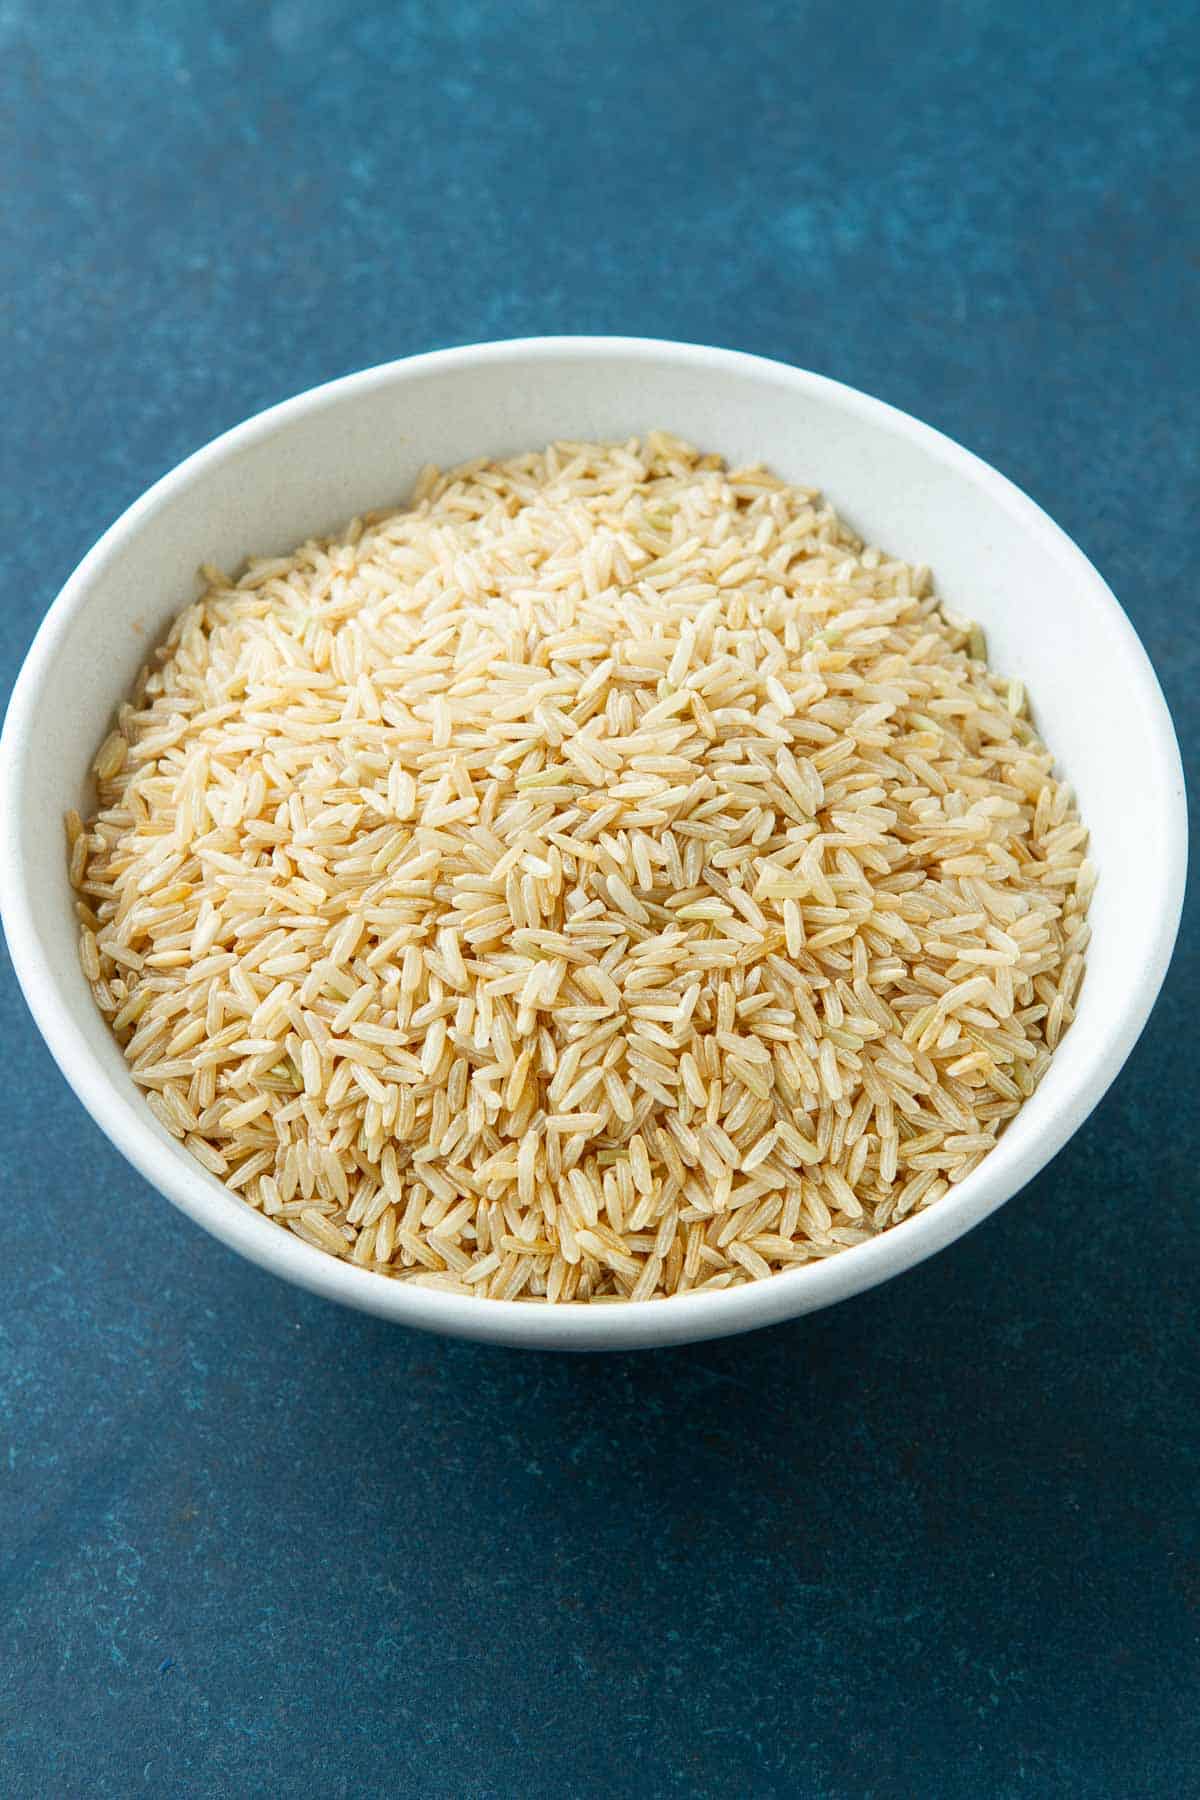
If you’ve eaten in a Thai restaurant, chances are that you’ve enjoyed jasmine rice. Its aromatic flavor is the ideal base for a Thai curry. Brown jasmine rice is the less-processed cousin of white jasmine rice, and has more fiber per serving, thanks to the bran and germ layers remaining intact.
Even though it pairs so well with Thai cuisine, the nutty flavor and slightly chewy texture of jasmine brown rice make it a versatile ingredient suitable for various cuisines and dishes. Serve it with stir-fries or curries, or use it as a base for an aromatic rice salad.
For more whole grains, try Instant Pot Quinoa, Instant Pot Farro or Instant Pot Sorghum.
Tips for making this recipe
- Rinse the Rice: Before cooking, place the rice in a fine mesh sieve and rinse it under cold water for 1 to 2 minutes. This removes excess starch and any debris, resulting in fluffier cooked rice.
- Perfect Water Ratio: Achieving the right water-to-rice ratio is key to perfectly cooked rice. For stovetop cooking, use a ratio of 1:2 (1 cup of rice to 2 cups of water). In the Instant Pot, use a ratio of 1:1.25. I typically use 2 cups of rice and 2 ½ cups of water in the Instant Pot.
- Avoid Stirring: When the rice is cooking, resist the urge lift the saucepan lid or stir the rice. Lifting the lid releases the steam, disrupting the cooking process. Simply let it simmer or pressure cook undisturbed until done.
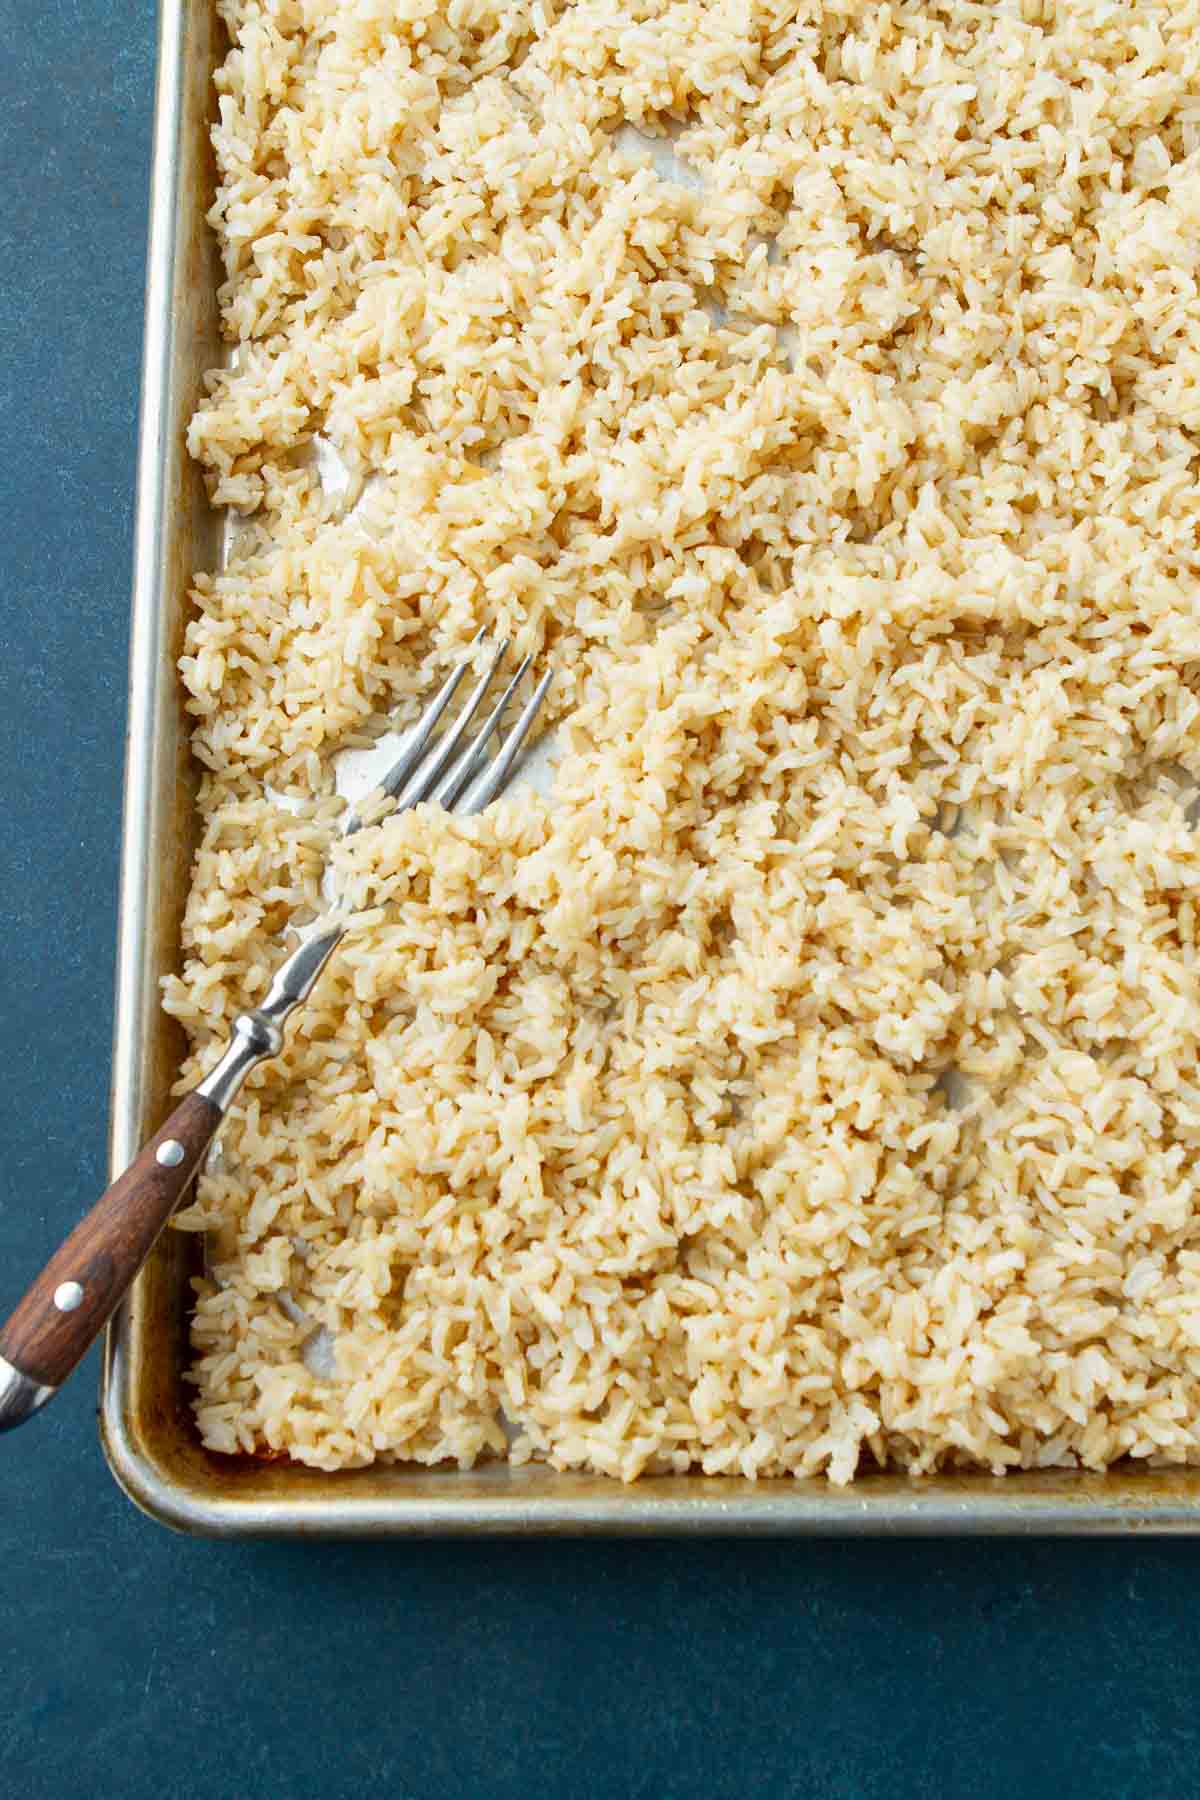
- Fluff with a Fork: After the rice has finished cooking and you’ve allowed it to rest, use a fork to fluff the grains gently. This helps prevent clumping and ensures that each grain is separate and fluffy.
- Use Broth for Flavor: For extra flavor, cooking the rice in vegetable, chicken, or beef broth instead of water, or use a 50:50 mixture of broth and water.
- Add Aromatics: Infuse the rice with additional flavor by adding aromatics such as garlic, ginger, or lemongrass to the cooking water or broth. Simply smash or bruise the aromatics and add them to the pot before bringing it to a boil.
See recipe card below for full ingredients list & recipe directions.
How to Cook Jasmine Brown Rice
Rinse the rice: Whether you’re cooking the rice on the stovetop or in an Instant Pot, you’ll want to give it a good rinse. Place the rice in a fine mesh sieve and rinse it under cold water for 1 to 2 minutes.
On the stovetop
- Combine ingredients: Pour the rinsed rice and cold water into a medium saucepan. Give it a stir to combine.
- Cook it: Bring the water to a boil, then reduce the heat to low or medium-low – whatever heat your stovetop needs to maintain a gentle simmer). Cover the saucepan and cook until all the water is absorbed. This takes 35 to 40 minutes on my stovetop, but every stovetop is different.
- Rest and fluff: Remove the saucepan from the heat and let it rest, covered, for 10 minutes. Remove the lid and fluff the rice with a fork.
In the Instant Pot
- Combine ingredients: Place the rinsed rice and the water and/or broth in the Instant Pot liner and give it a stir. This method uses less liquid than stovetop cooking.
- Cook it: Close the lid on the Instant Pot and set the steam release knob on top to SEAL. Set the Instant Pot to HIGH pressure for 22 minutes. It will take 7 to 8 minutes to come to pressure.
- Rest and fluff: Once the cooking time expires, allow the pressure to release naturally for 15 minutes, then carefully release any remaining pressure. Remove the lid and fluff the rice with a fork.
KEEP IN TOUCH
and receive recipes straight to your inbox!
Freezing rice
If you love serving brown rice, but don’t always think far enough ahead to cook a fresh batch (I speak from experience!), freezing rice may be for you.
How to freeze rice
Once the rice is cooked, spread it on one or two baking sheets (depending on the amount of rice) and pop the baking sheets into the fridge to cool the rice.
Once the rice is cool, divide the rice into the desired portion sizes and transfer the portions to airtight resealable freezer bags. Or put them in ziplock sandwich bags and place all of the bags in a gallon-sized freezer bag.
Reheat frozen rice
When you’re ready to eat the rice, reheat it in the microwave. For a 1 cup portion, about 1 minute in the microwave should do the trick, depending on the wattage of your microwave.
How long can rice be frozen?
The longer the rice is frozen, the more it will dry out. While rice can be frozen for up to 6 months when store properly, I recommend eating it within a month for the best texture.
What to serve it with
Brown jasmine rice pairs wonderfully with a variety of dishes, including:
Frequently Asked Questions
I highly recommend rinsing the rice. Rinsing it removes excess starch, resulting in fluffier cooked rice. If you prefer stickier rice, feel free to skip this step.
Yes, you can cook brown jasmine rice in a rice cooker. For many rice cookers, a ratio of 1 cup rice 1 ¼ cups water works well. However, since every rice cooker is different, I recommend following the manufacturer’s instructions for your specific model.
Yes, brown jasmine rice is naturally gluten-free, However, be sure to check the packaging if you have concerns about cross-contamination during processing.
Other Meal Prep Recipes
If you make this recipe, please let me know! Leave a star rating ⭐️⭐️⭐️⭐️⭐️ and comment underneath the recipe card below. Thank you!
Printable Recipe
How to Cook Jasmine Brown Rice
Knowing how to cook brown jasmine rice is a handy skill for putting together healthy meals. Instructions for cooking the rice on the stovetop and in an Instant Pot are included.
Print
Pin
Rate
Servings: 8 Servings
Calories: 160kcal
Prevent your screen from going dark
Instructions
Rinse the rice: Whether you’re cooking therice on the stovetop or in an Instant Pot, you’ll want to give it a good rinse. Place the rice in a fine mesh sieve and rinse it under cold water for 1 to 2 minutes.
In the Instant Pot
Place the rinsed rice and the water and/or broth in the Instant Pot liner and give it a stir.
Close the lid on the Instant Pot and set the steam release knob on the top to SEAL. Set the Instant Pot to HIGH pressure for 22 minutes. It will take 7 to 8 minutes to come to pressure.
Once the cooking time expires, allow the pressure to release naturally for 15 minutes, then carefully release any remaining pressure. Remove the lid and fluff the rice with a fork.
On the stovetop
Pour the rinsed rice and cold water into a medium saucepan. Give it a stir to combine.
Bring the water to a boil, then reduce the heat to low or medium-low – whatever heat your stovetop needs to maintain a gentle simmer). Cover the saucepan and cook until all the water is absorbed.This takes 35 to 40 minutes on my stovetop, but every stovetop is different.
Remove the saucepan from the heat and let it rest, covered, for 10 minutes. Remove the lid and fluff the rice with a fork.
Notes
Please note that I am not a medical or nutritional professional. I provide nutritional information for my recipes as a courtesy to my readers. It is calculated using the LoseIt! calculator. While I attempt to provide information that is as accurate as possible, you should calculate the nutritional information independently before relying on it.
Nutrition
Serving: 0.75cup | Calories: 160kcal | Carbohydrates: 35g | Protein: 3g | Fat: 1g | Fiber: 2g | Sugar: 3g
Disclosure: I am a participant in the Amazon Services LLC Associates Program, an affiliate advertising program designed to provide a means for me to earn fees by linking to Amazon.com and affiliated sites.
![]()


