


It’s SO easy to make perfectly soft and fluffy Thermomix Scones… prepped, baked and ready to enjoy in just over 20 minutes!
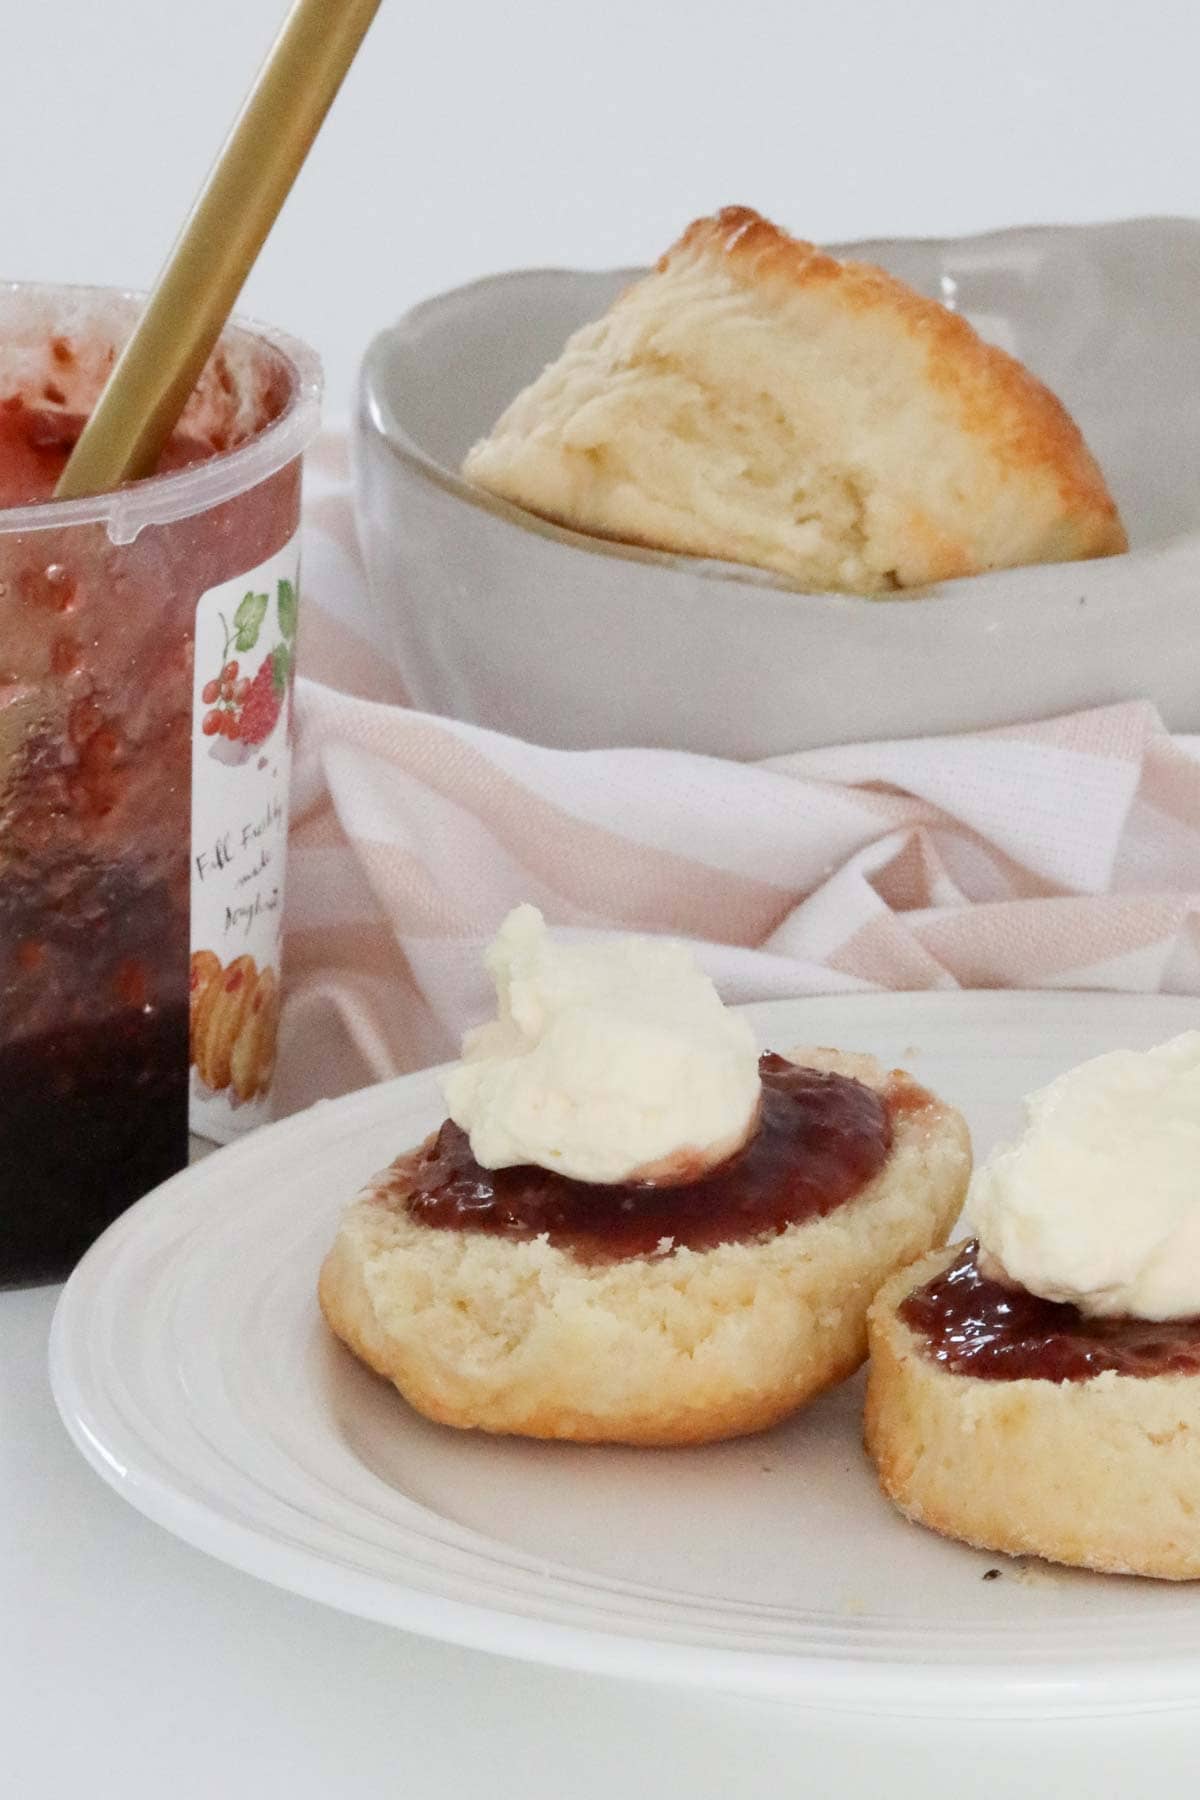
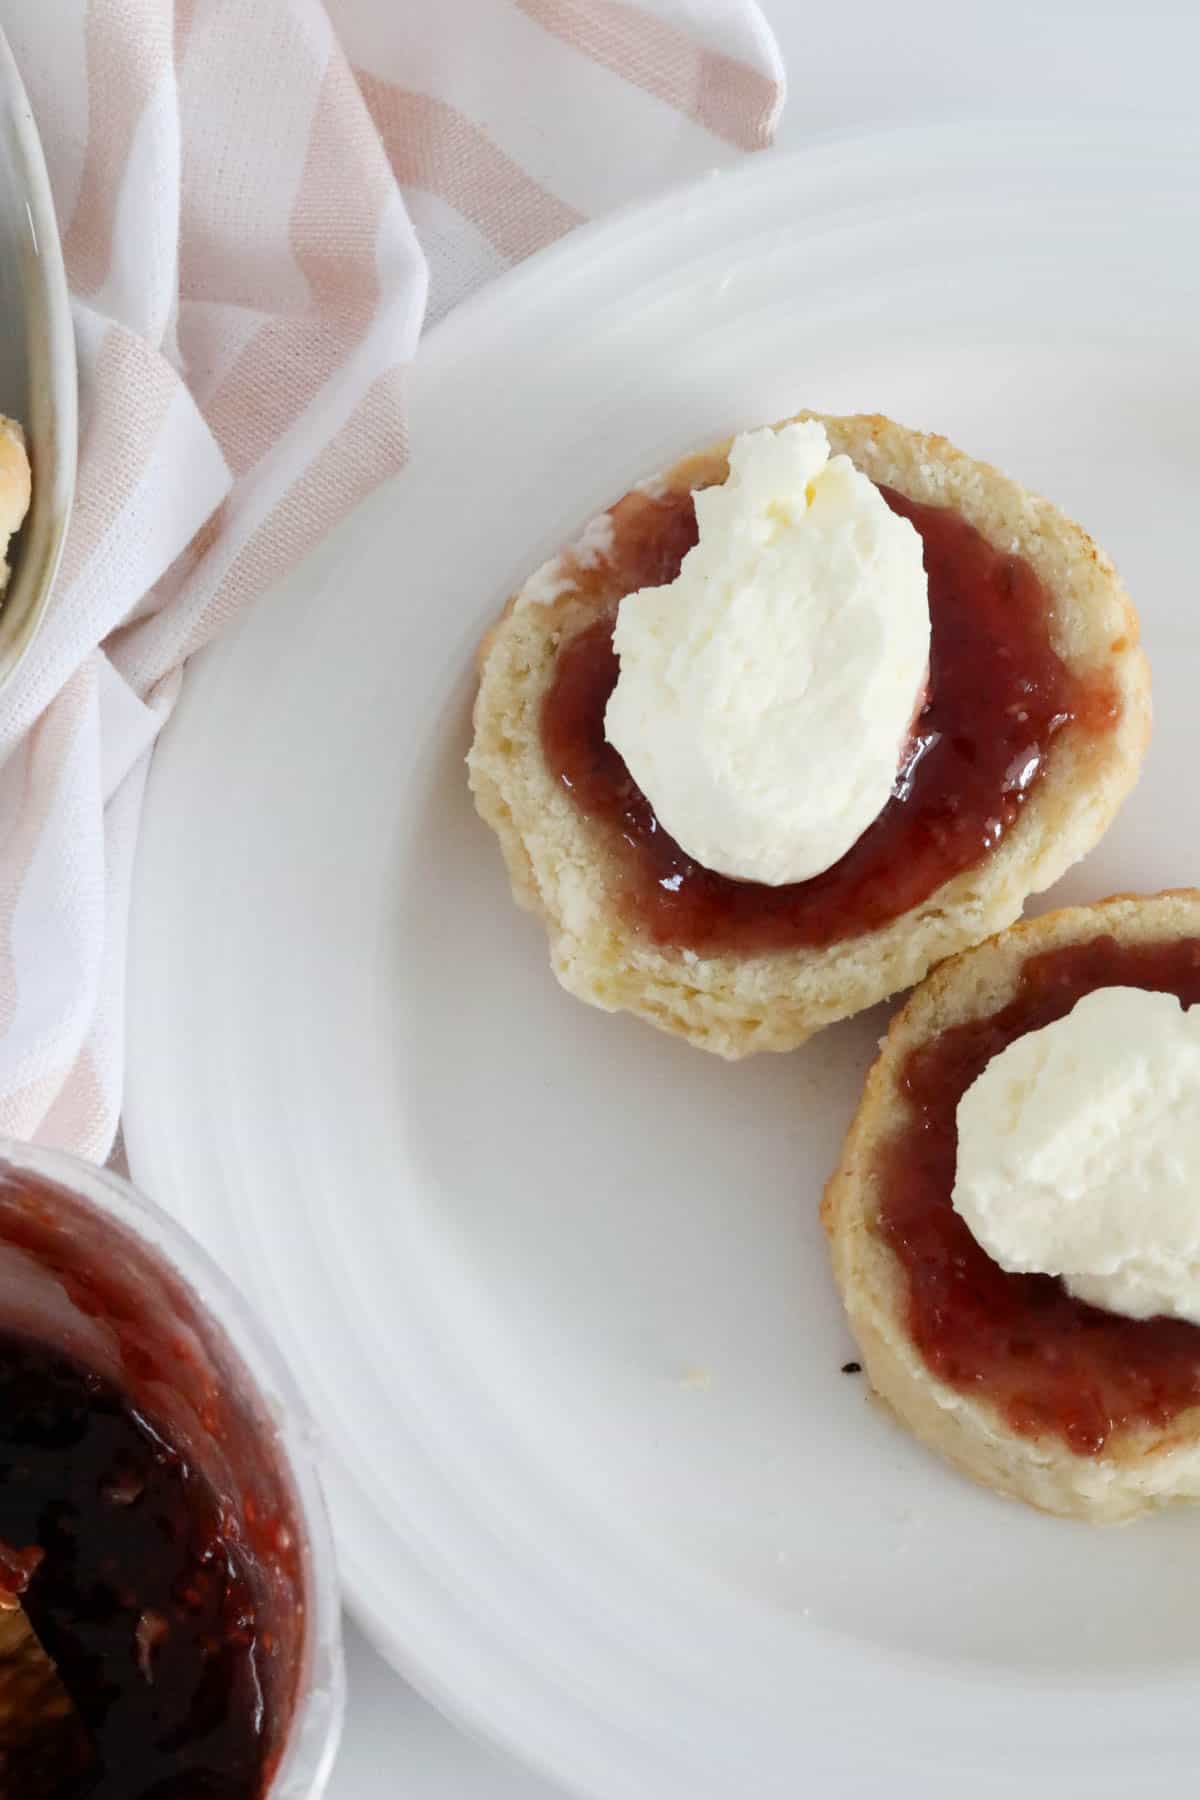
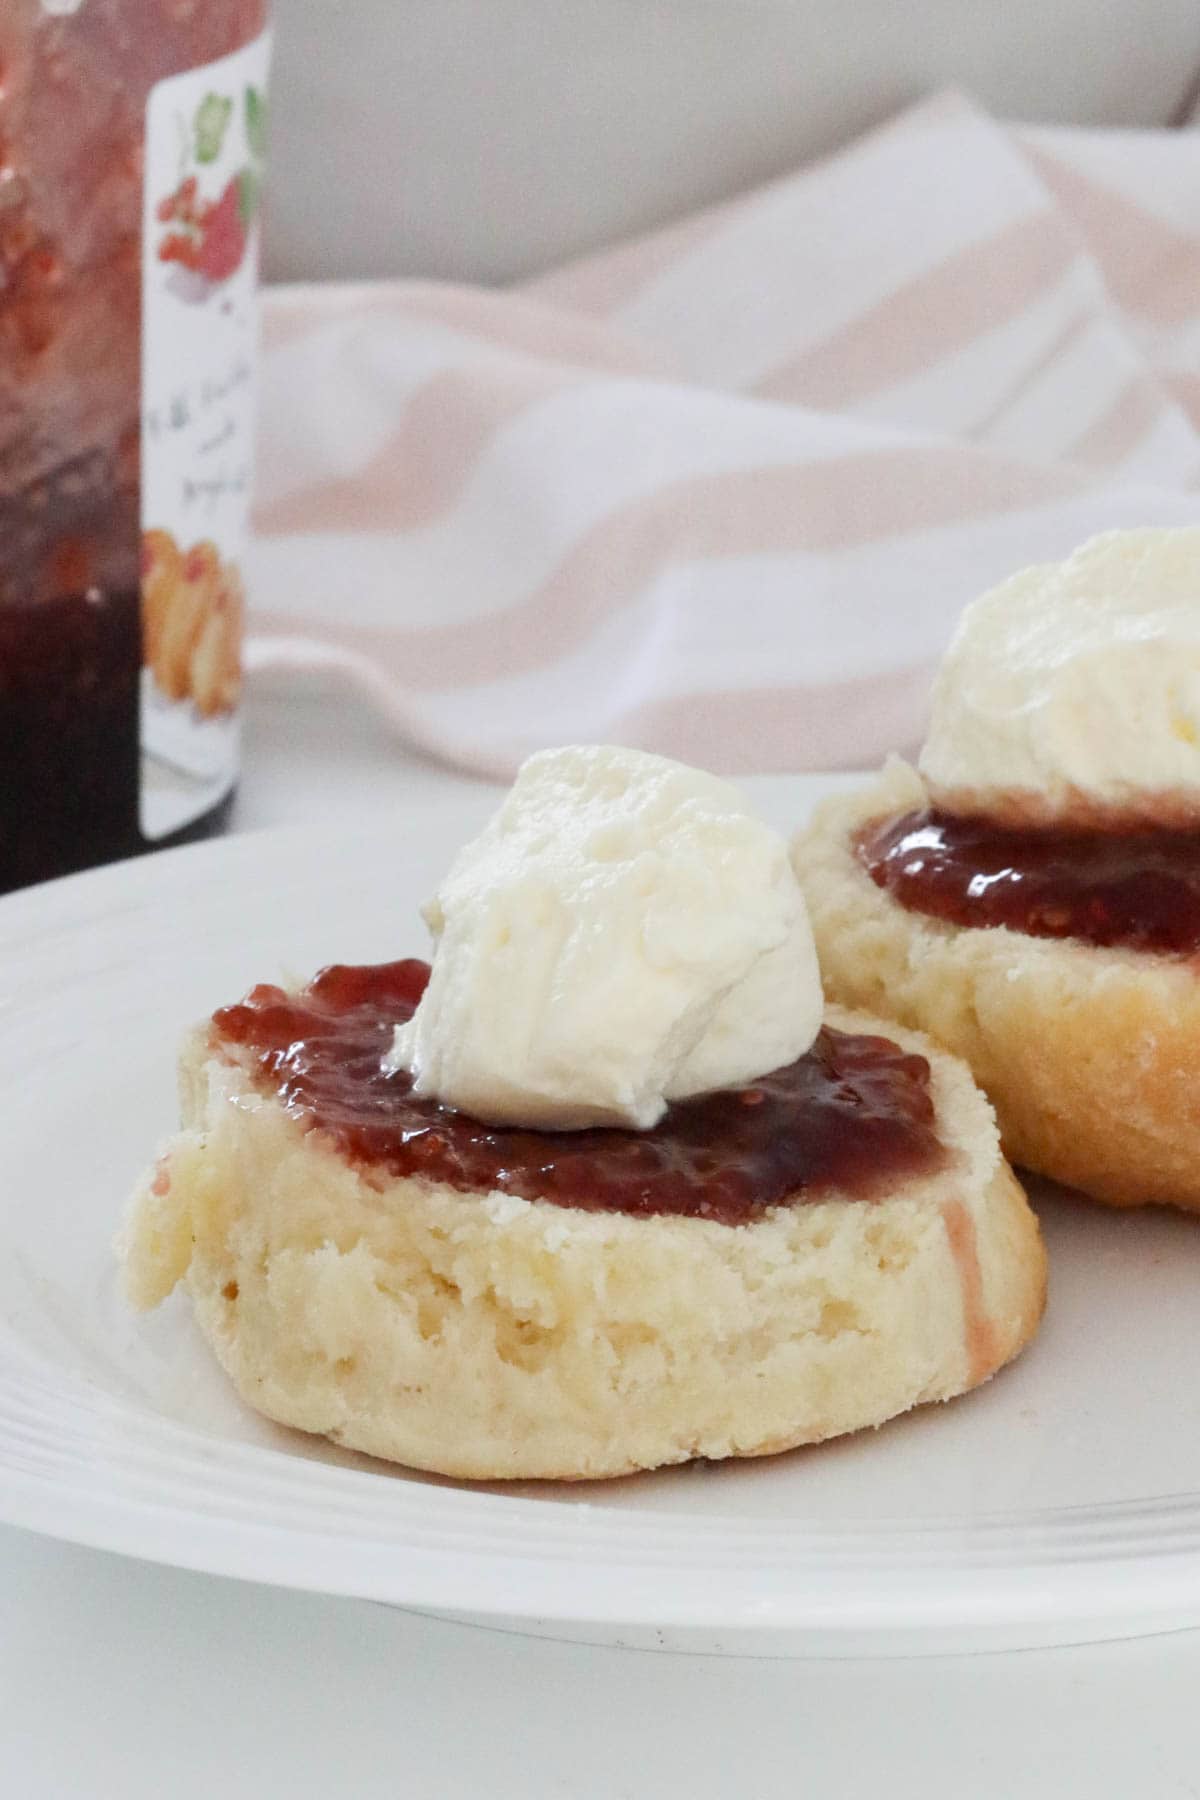
Serve warm with jam and cream or butter for a delicious treat.

I remember way back (at least 12-15 years ago) when I bought my very first Thermomix and at first I was hesitant to use it because I knew I was a good baker on my own… but the Thermomix only made me better!
Basics (like these scones, bread rolls, focaccia, cakes and cupcakes)… became SO much easier with the Thermomix.
On a side note: I held onto my beloved KitchenAid for 12 months after I bought my first Thermie… and when I hadn’t used it AT ALL in that time, I knew it had to go!
So let’s get making scones in your Thermie… you’ll never look back!
Why You’re Going To Love This Recipe
There’s a lot to love about everyones favourite old fashioned scones recipe!
- Budget-friendly – scones are made entirely from pantry staples which makes them a great option when you’re trying to save on your grocery bill!
- Super quick & easy – I once heard a story about a lady who would see someone driving into her driveway and by the time they got to her house, she would have a batch of scones in the oven! I’m assuming that it was a VERY long driveway… but still, the point is that scones are SO fast to whip up!
- Fool-proof in the Thermomix – think your conventional scone recipe is easy? Try making them in the Thermomix… you’ll never look back!
- Suitable for all Thermomix models – whether you have an older model or the latest model, you can whip up a batch of scones in just minutes!
- Of course, if you don’t have a Thermomix, here’s a link to my famous lemonade scones!
What You Need
There’s absolutely NO need to make a trip to the supermarket… scones require just a handful of essential ingredients that you’ll already have at home!
Note: Scroll to the recipe card at the bottom for the ingredients quantities and full detailed method.
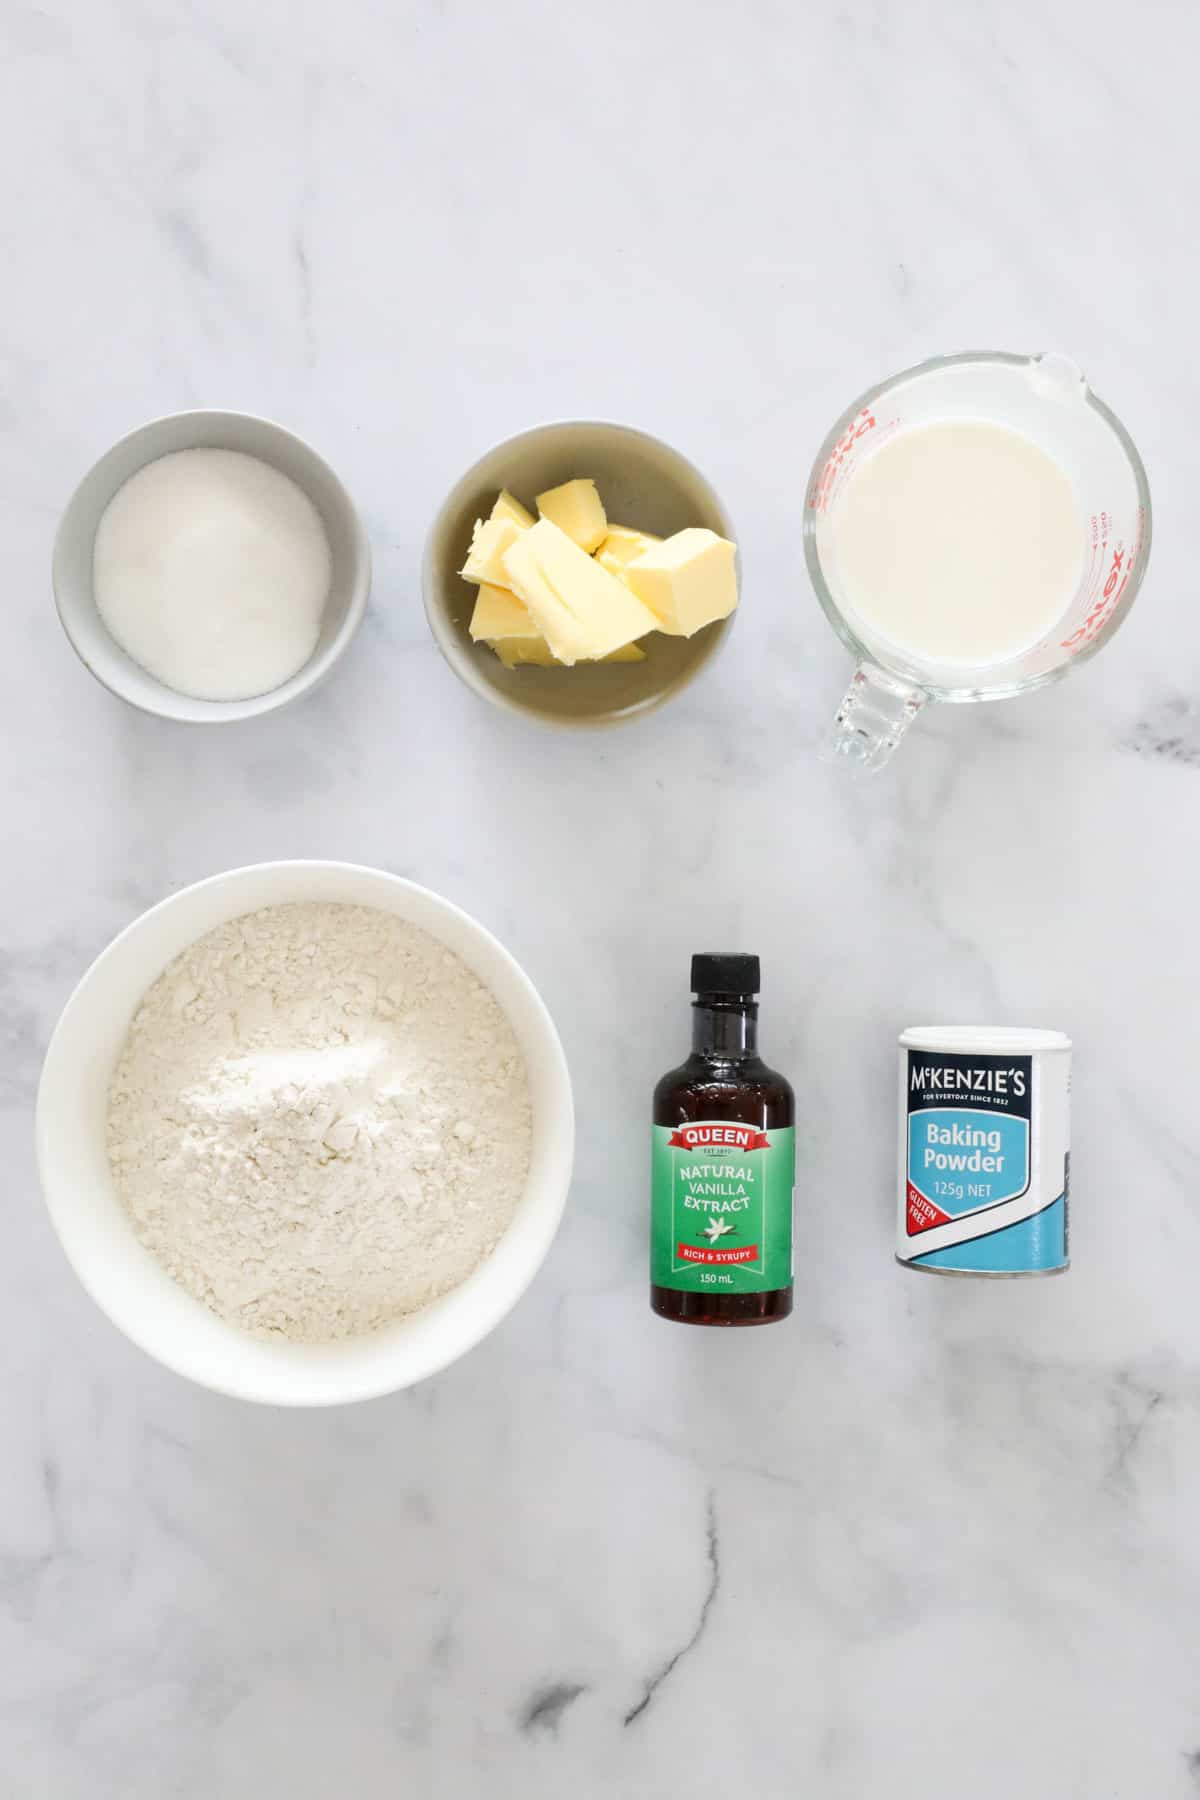
- Self-raising flour – also known as self rising flour. Only have plain flour? No worries! Make your own self-raising flour using my super easy recipe... all you need is plain flour and baking powder!
- Baking powder – this, combined with the self-raising flour, is what gives you beautiful big fluffy scones!
- Caster sugar – a superfine sugar that is perfect for baking.
- Butter – ensure your butter is chilled when making scones!
- Milk – use full cream milk for the best results.
- Optional | Vanilla extract – use 1 teaspoon for a subtle vanilla flavour.
- Egg – whisked, to glaze the top of the scones.
Equipment Required
To make Thermomix scones, you will need the following:
- Thermomix machine – any model is suitable for this recipe.
- Bench or chopping board – lightly sprinkled with flour.
- Scone cutter – approximately 5cm round. If you don’t have a scone cutter, you can simply cut squares or rustic wedges with a knife.
- Baking dish – I generally use a 20cm square baking tin.
- Oven – I specify fan-forced oven temperatures. If you have a conventional oven, increase the temperature by 10-20 degrees.
Step By Step Thermomix Instructions
It takes just 10 minutes to prepare scones in your Thermomix!
Note: Scroll to the recipe card at the bottom for the ingredients quantities and full detailed method.
Preheat your oven to 200 degrees celsius (fan-forced). Lightly grease a 20cm square cake tin and set aside.
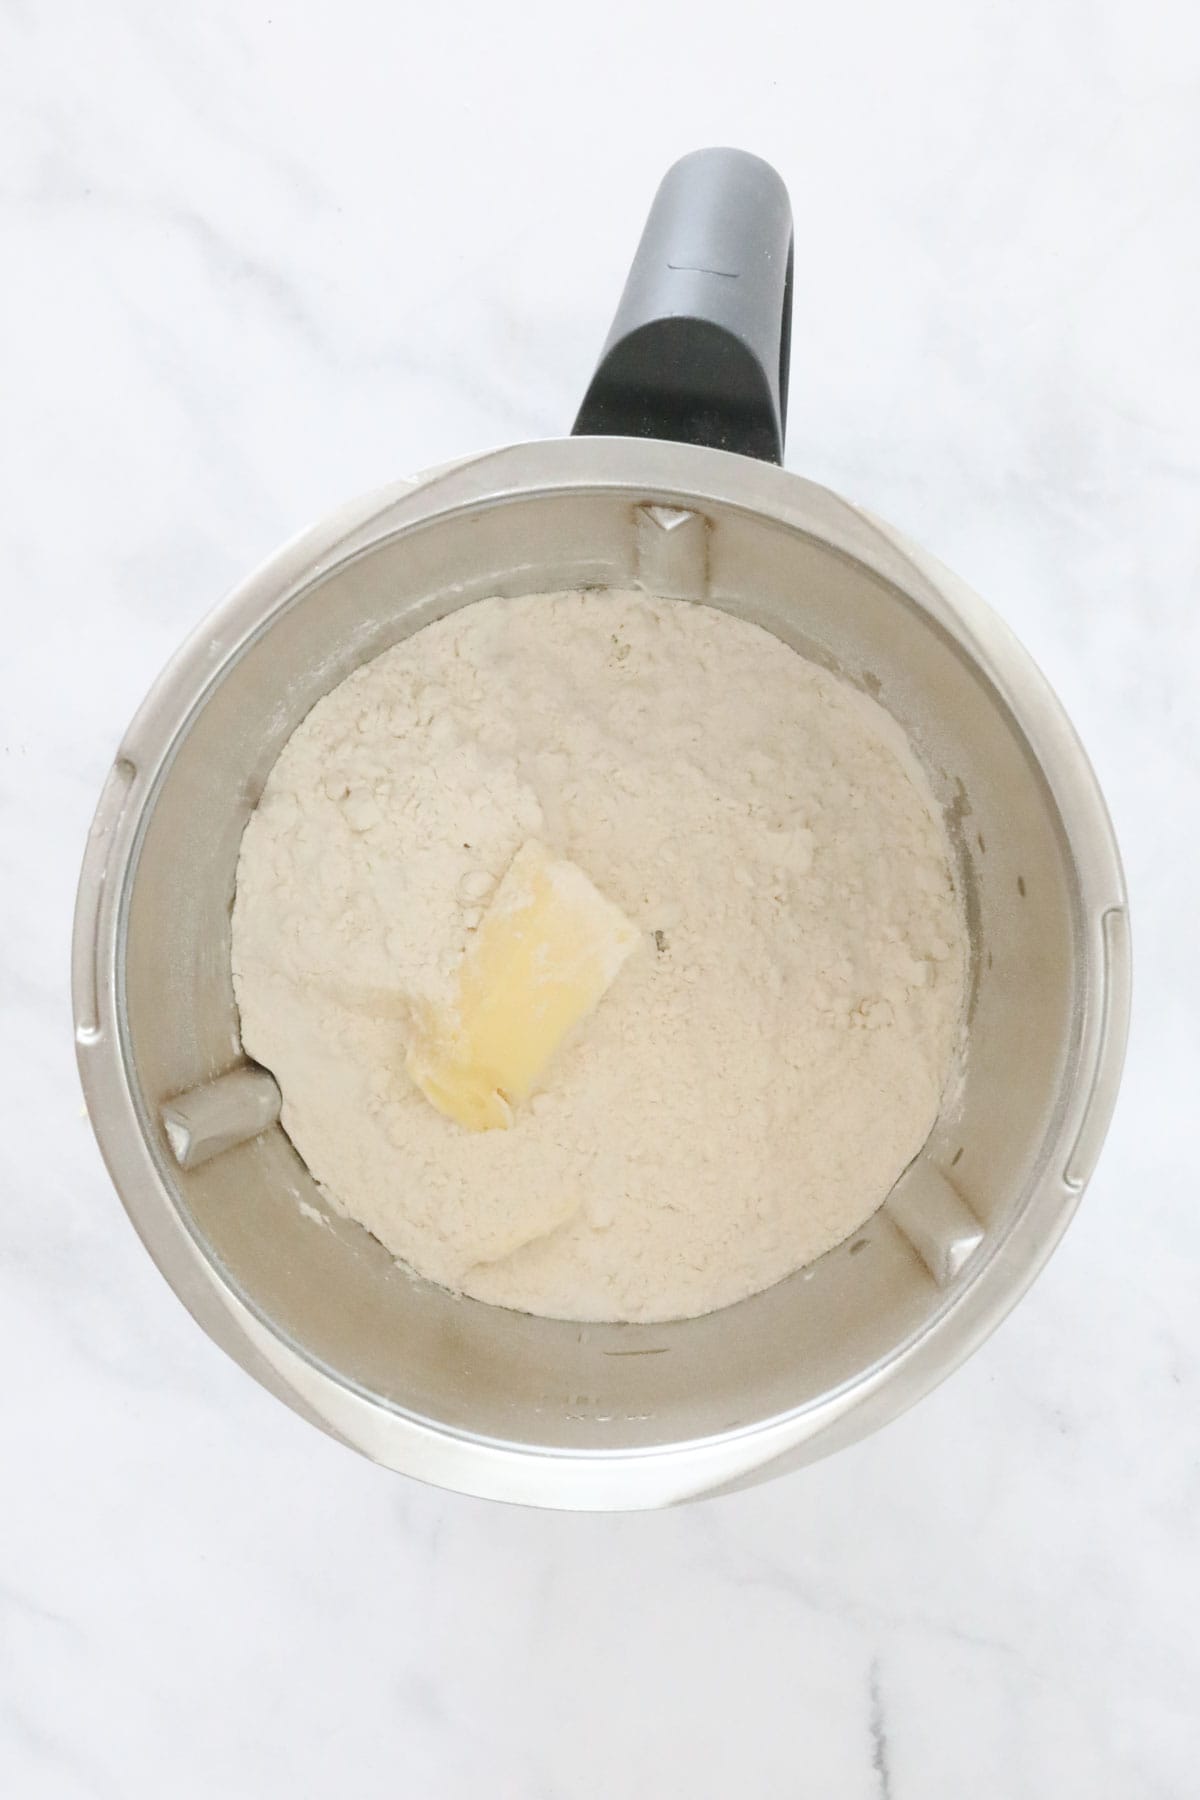
Place the self raising flour, baking powder, caster sugar and butter into the Thermomix bowl.
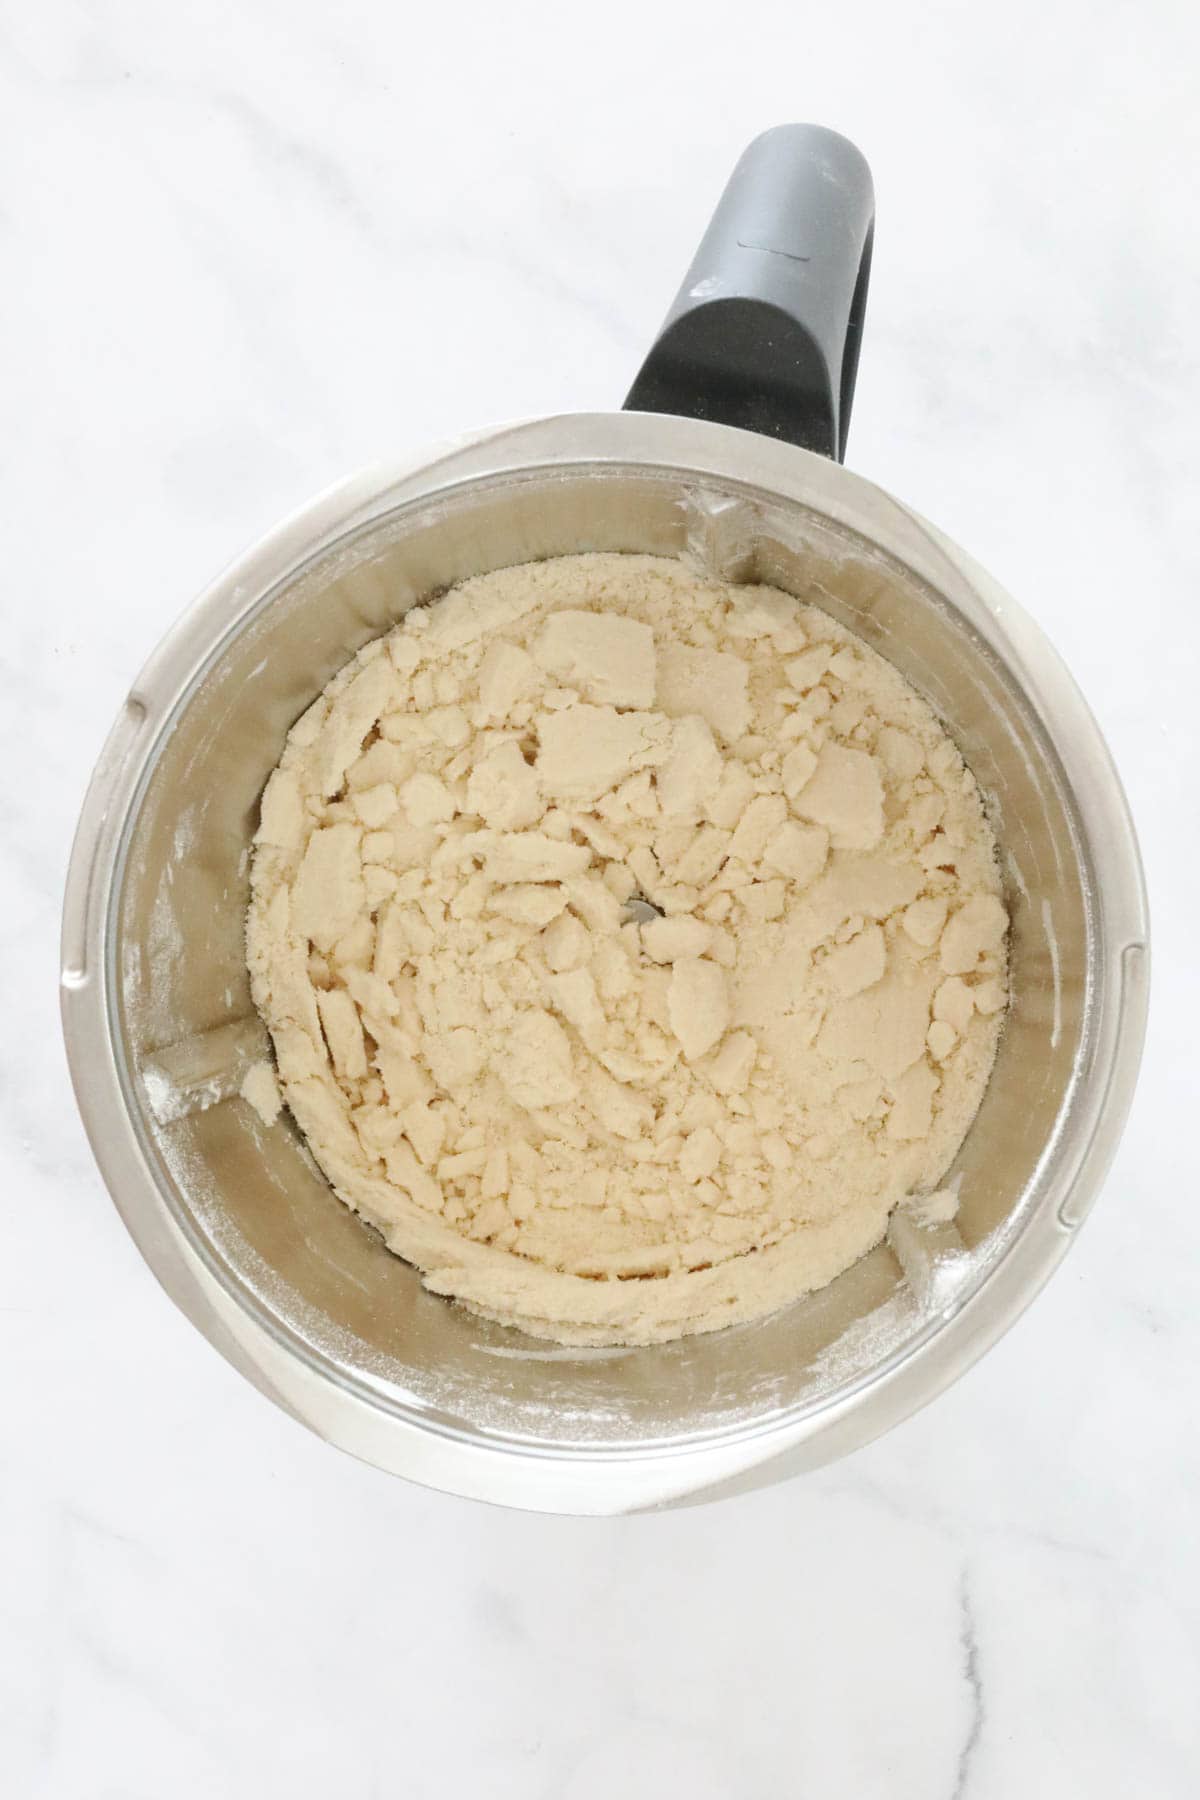
Mix until it resembles breadcrumbs.
Add the milk and vanilla extract (if using).
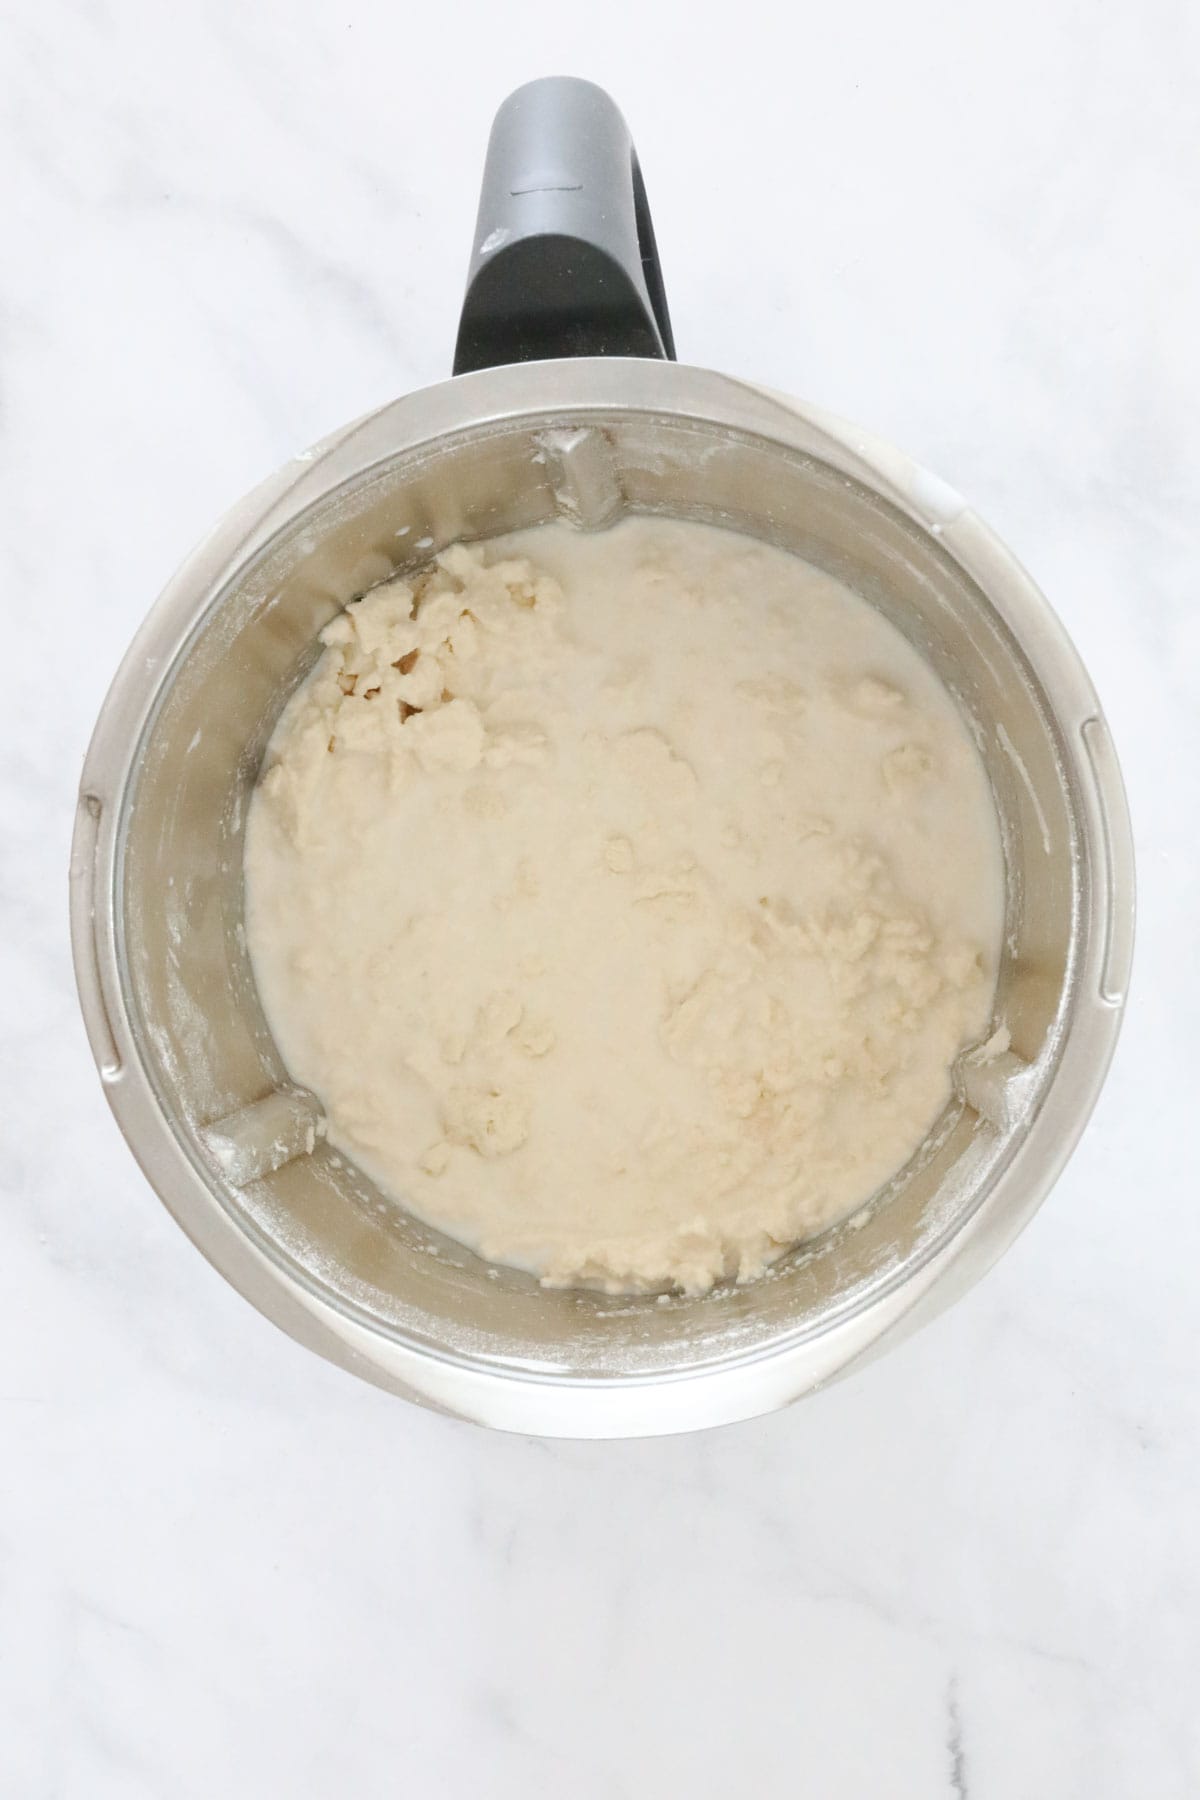
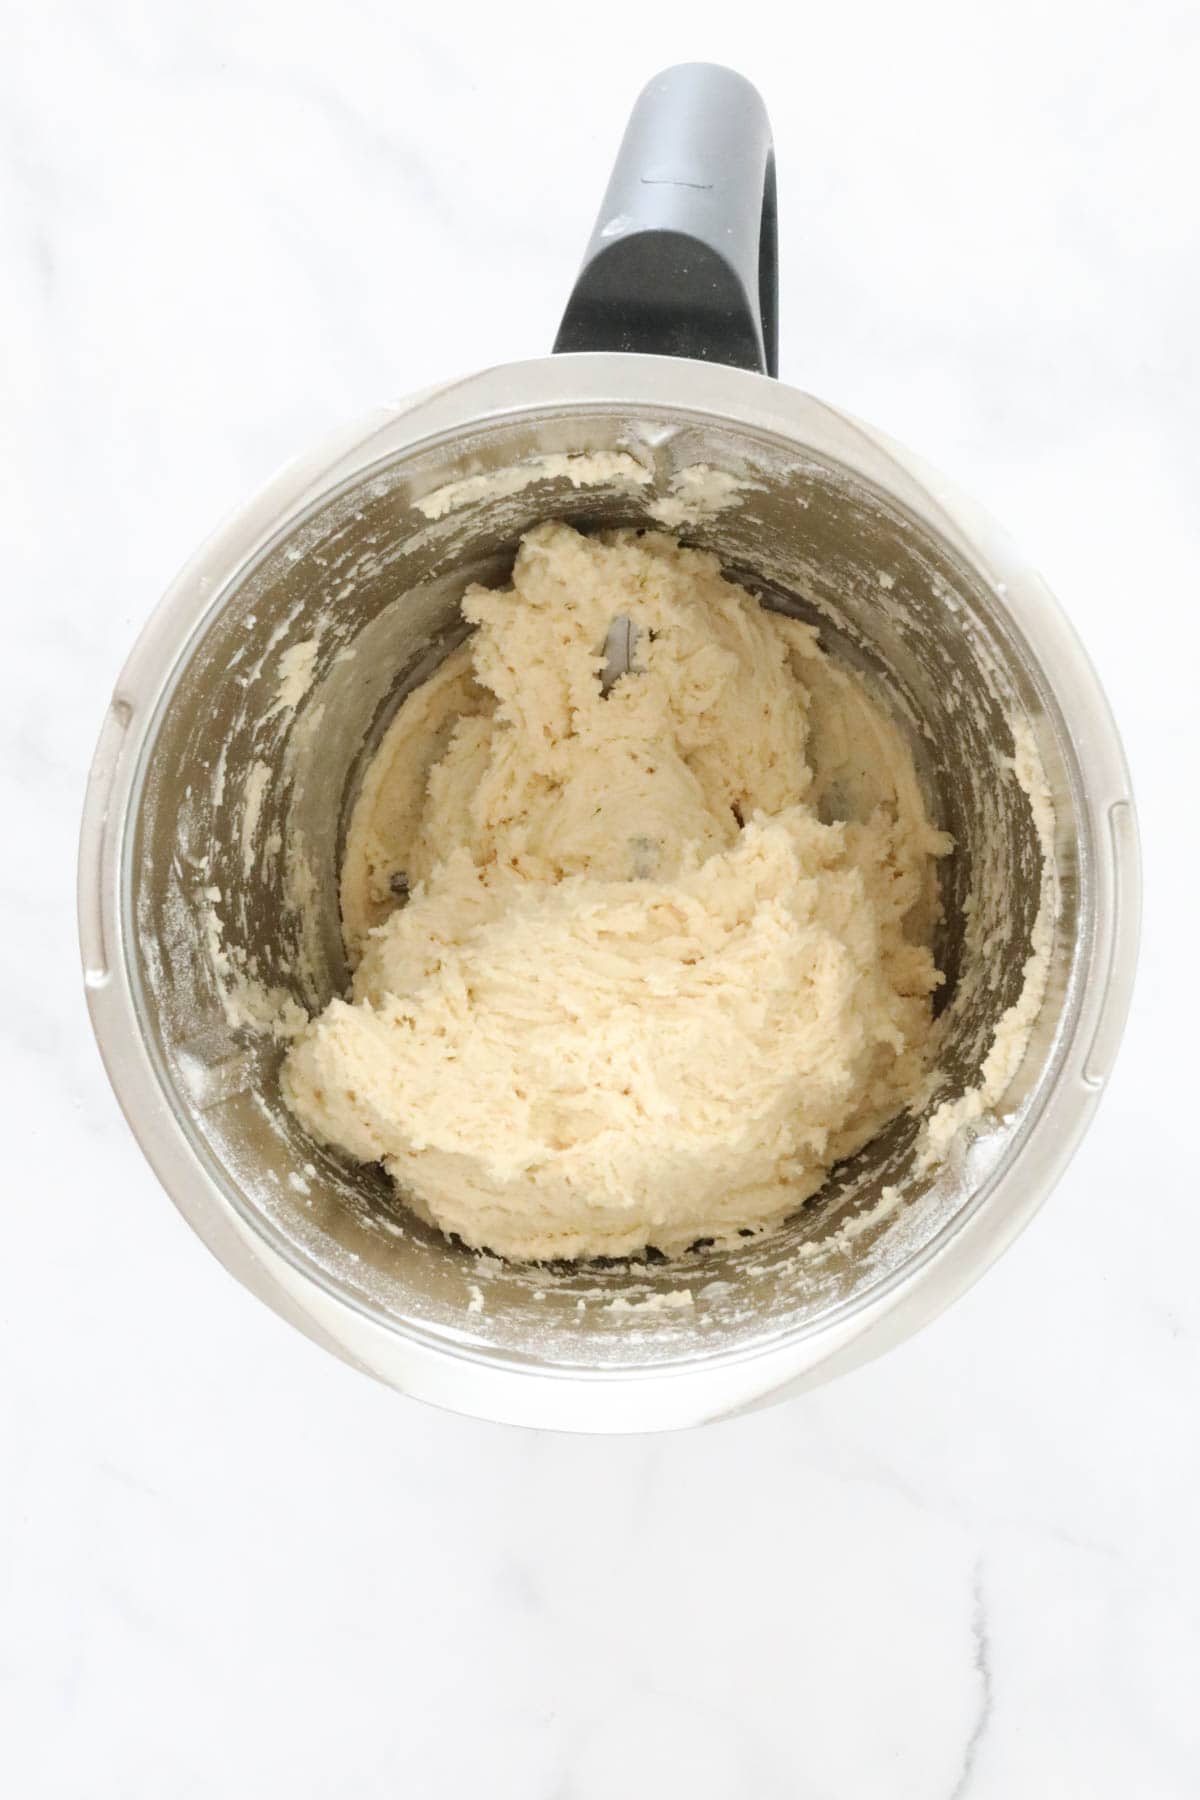
And mix for 15 seconds before using the kneading function to knead the dough for 30 seconds.
TIP: Do NOT over-mix the dough.
Step 2 – Cut Out The Scones
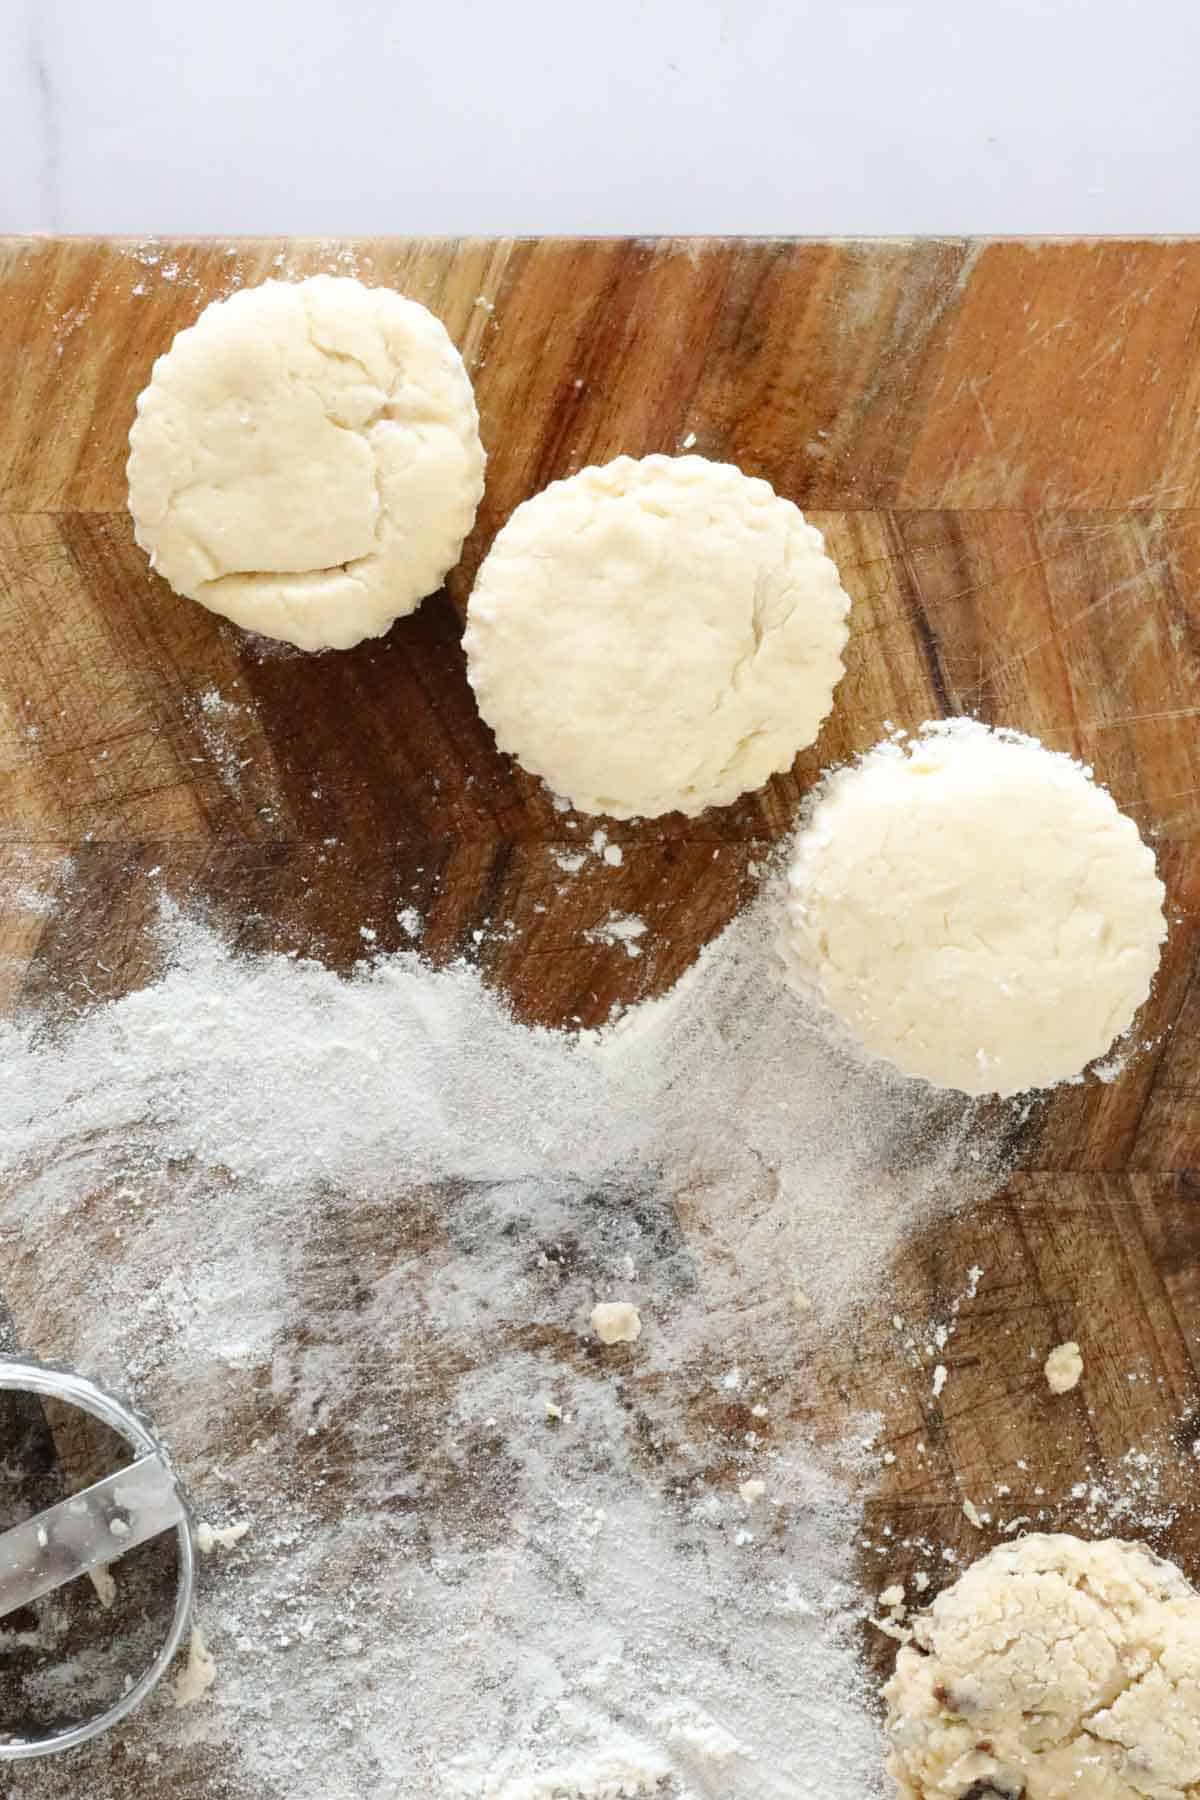
Place the dough onto a lightly floured board or your kitchen bench.
Press the mixture down ever so slightly until it’s around 3cm high (do NOT overwork the dough!)
Dip the scone cutter in flour (to stop the dough from sticking to it) and then cut out the scones.
Push the remaining dough back together and then cut out more scones.
Step 3 – Bake
Place the scones into a lightly floured baking tin (slightly pressing up against one another to help them rise up).
Brush the tops with whisked egg and then place into the hot preheated oven.
Bake until golden on top and cooked through.
For best results, serve immediately while still warm.
Expert Tips
Follow my simple tips for the perfect Thermomix scones!
- Add 1 teaspoon of vanilla extract for a subtle vanilla flavour – however this is completely optional!
- Ensure your butter is chilled (straight from the fridge!) before using.
- Lightly flour your baking tin so that the scones don’t stick to it – to do this, I give it a very light spray with cooking oil and then shake a small amount of flour around the sides and base.
- Make sure your oven has pre-heated to the required temperature before putting the scones in – for perfect scones, the oven needs to be HOT!
- Do NOT over-mix dough in the Thermomix – don’t be tempted to mix the dough for longer in the Thermomix! If you do, your scones will be tough. The less mixing, the better!
- Don’t over-work the dough – also super important!!! Once you place the dough onto your floured board or bench, touch it as little as you can! Very gently, press the mixture until it’s approximately 3cm high, then cut out the scones. Gently move the remaining dough back together and cut out more scones. Do NOT knead or press the dough… the more you touch it, the less light and fluffy your scones will be.
- Make sure your baking powder is in date – if your baking powder is out of date, throw it out! Fresh baking powder will help your scones to rise.
- Dip your scone cutter in flour before cutting out your scones – this stops the sticky dough from sticking to it.
- If you don’t have a scone cutter, use a knife instead! Cut the dough into squares or wedges.
- Place the scones ever so gently touching each other in the baking tray – this helps them to rise up rather than outwards!
- Cook the scones until golden on top and cooked through.
- For best results, always serve scones while they’re still warm, straight out of the oven.
- Top the scones with jam and cream (the classic) or lots of butter!
- Store leftover scones in an airtight container at room temperature for up to 3 days or freeze for up to 1 month.
- Reheat the scones in the oven or air fryer until warm before serving. The microwave can also be used to reheat (but the oven and air fryer are my preferred options).
FAQs
The secret is to not over-mix the dough in the Thermomix or over-work it on your floured board. The best scones come from dough that has been touched as least as possible!
Yes! This scones recipe is suitable to all models of the Thermomix.
Absolutely not! It comes down to personal preference. Personally I like the subtle vanilla flavour, however, I know others prefer their scones without it.
The Thermomix machine is so perfect for whipping up all your favourite basics!
WANT EVEN MORE DELICIOUS RECIPES? Subscribe to my newsletter or follow along on Facebook or Instagram. And if you love baking, then please come and join my Facebook cooking club group or subscribe to my YouTube channel.

Thermomix Scones
The BEST and EASIEST old fashioned Thermomix Scones! Serve with jam and whipped cream for a delicious morning tea treat!
Print
Pin
Rate
Servings: 9 scones
Calories: 249kcal
Prevent your screen from going dark
Instructions
Preheat oven to 200 degrees celsius (fan-forced). Lightly grease a 20cm square cake tin and set aside.
- Place the self raising flour, baking powder, caster sugar and butter into the Thermomix bowl. Mix for 10 seconds, Speed 7.
Add the milk and vanilla extract and mix for 15 seconds, Speed 5.
Use the kneading/dough function to knead for 30 seconds.
Place the dough onto a lightly floured board.
With lightly floured fingers, press the mixture down to a thickness of 3cm (do not over-work the dough).
Using a 5cm scone cutter, cut rounds from the middle working outwards and place into the prepared cake tin (make sure that your scones are gently pressing up against one another as it will help them to rise).
Gently move the remaining dough together and cut out extra scones.
- When you’ve used all of the dough, brush the tops of the scones with the whisked egg and place into the oven for 10-12 minutes.The scones are ready when they’re golden on top and cooked through.
Serve warm with your choice of fillings.
Notes
- Add 1 teaspoon of vanilla extract for a subtle vanilla flavour – this is completely optional!
- Ensure your butter is chilled (straight from the fridge!) before using.
- Lightly flour your baking tin so that the scones don’t stick to it – to do this, I give it a very light spray with cooking oil and then shake a small amount of flour around the sides and base.
- Make sure your oven has pre-heated to the required temperature before putting the scones in – for perfect scones, the oven needs to be HOT!
- Do NOT over-mix the dough – don’t be tempted to mix the dough for longer in the Thermomix! If you do, your scones will be tough! The less mixing, the better!
- Don’t over-work the dough – also super important!!! Once you place the dough onto your floured board or bench, touch it as little as you can! Very gently, press the mixture until it’s approximately 3cm high, then cut out the scones. Gently move the remaining dough back together and cut out more scones. Do NOT knead or press the dough… the more you touch it, the less light and fluffy your scones will be.
- Make sure your baking powder is in date – if your baking powder is out of date, throw it out! Fresh baking powder will help your scones to rise.
- Dip your scone cutter in flour before cutting out your scones – this stops the sticky dough from sticking to it.
- If you don’t have a scone cutter, use a knife instead! Cut the dough into squares or wedges.
- Place the scones ever so gently touching each other in the baking tray – this helps them to rise up rather than outwards!
- Cook the scones until golden on top and cooked through.
- For best results, always serve scones while they’re still warm, straight out of the oven.
- Top the scones with jam and cream (the classic) or lots of butter!
- Store leftover scones in an airtight container at room temperature for up to 3 days or freeze for up to 1 month.
- Reheat the scones in the oven or air fryer until warm before serving. The microwave can also be used to reheat (but the oven and air fryer are my preferred options).
Nutrition
Calories: 249kcal | Carbohydrates: 34g | Protein: 6g | Fat: 9g | Saturated Fat: 5g | Polyunsaturated Fat: 1g | Monounsaturated Fat: 2g | Trans Fat: 0.3g | Cholesterol: 41mg | Sodium: 76mg | Potassium: 123mg | Fiber: 1g | Sugar: 6g | Vitamin A: 295IU | Calcium: 54mg | Iron: 0.5mg


